

© Bloodborne key art
© Bloodborne gameplay screenshot
© Bloodborne gameplay screenshot

© Bloodborne gameplay screenshot
© Bloodborne gameplay screenshot
© Bloodborne gameplay screenshot
© Bloodborne gameplay screenshot
© Bloodborne gameplay screenshot
© Bloodborne gameplay screenshot
© Bloodborne gameplay screenshot
© Bloodborne gameplay screenshot
© Bloodborne gameplay screenshot
© Bloodborne gameplay screenshot
© Bloodborne gameplay screenshot
© Bloodborne gameplay screenshot
© Bloodborne gameplay screenshot

© Bloodborne gameplay screenshot
© Bloodborne gameplay screenshot
© Bloodborne gameplay screenshot
© Bloodborne gameplay screenshot
© Bloodborne gameplay screenshot
© Bloodborne gameplay screenshot
© Bloodborne gameplay screenshot
Ranking the Bloodborne Bosses From Easiest to Hardest
A decade since its launch, Bloodborne remains many players’ favorite game in FromSoftware’s catalog, and much of the love for this action-horror RPG boils down to its memorable boss encounters. Boss battles are practically the bread and butter of any great Soulslike, pushing the player to their absolute limit and serving as a test for both their skill and the viability of a character build. Bloodborne‘s bosses are especially memorable not just for their mechanics, but for their design, evoking both gothic and cosmic horror throughout the different stages of Bloodborne‘s amazing campaign, and only increasing in complexity, aggression, and difficulty with each pass through NG+. In honor of Bloodborne‘s 10th anniversary, it felt like a great time to go through and rank all the bosses in order of difficulty, including the essential Old Hunters encounters.
The Witches of Hemwick
- Location — Hemwick Charnel Lane
- HP — 2,611
- Weaknesses — Visceral Attacks
- Blood Echoes — 11,800
Kicking things off is a near-universal pick for the easiest boss in Bloodborne, The Witches of Hemwick. Despite technically being a “gank” boss (there are two witches that players have to deal with, as well as enemy mobs that spawn), these witches are mostly a total non-threat thanks to how easy it is to run loops around them and get in devastating backstabs. One witch technically has to be defeated before you can take out the other, but you can damage both simultaneously — a good thing, given that taking too long between eliminating the pair allows one to revive the other. As long as you keep an eye out for a reddish glow in the arena, the witches are easy to spot, and they fall fairly quickly, along with dropping a great reward: the Rune Workshop Tool.
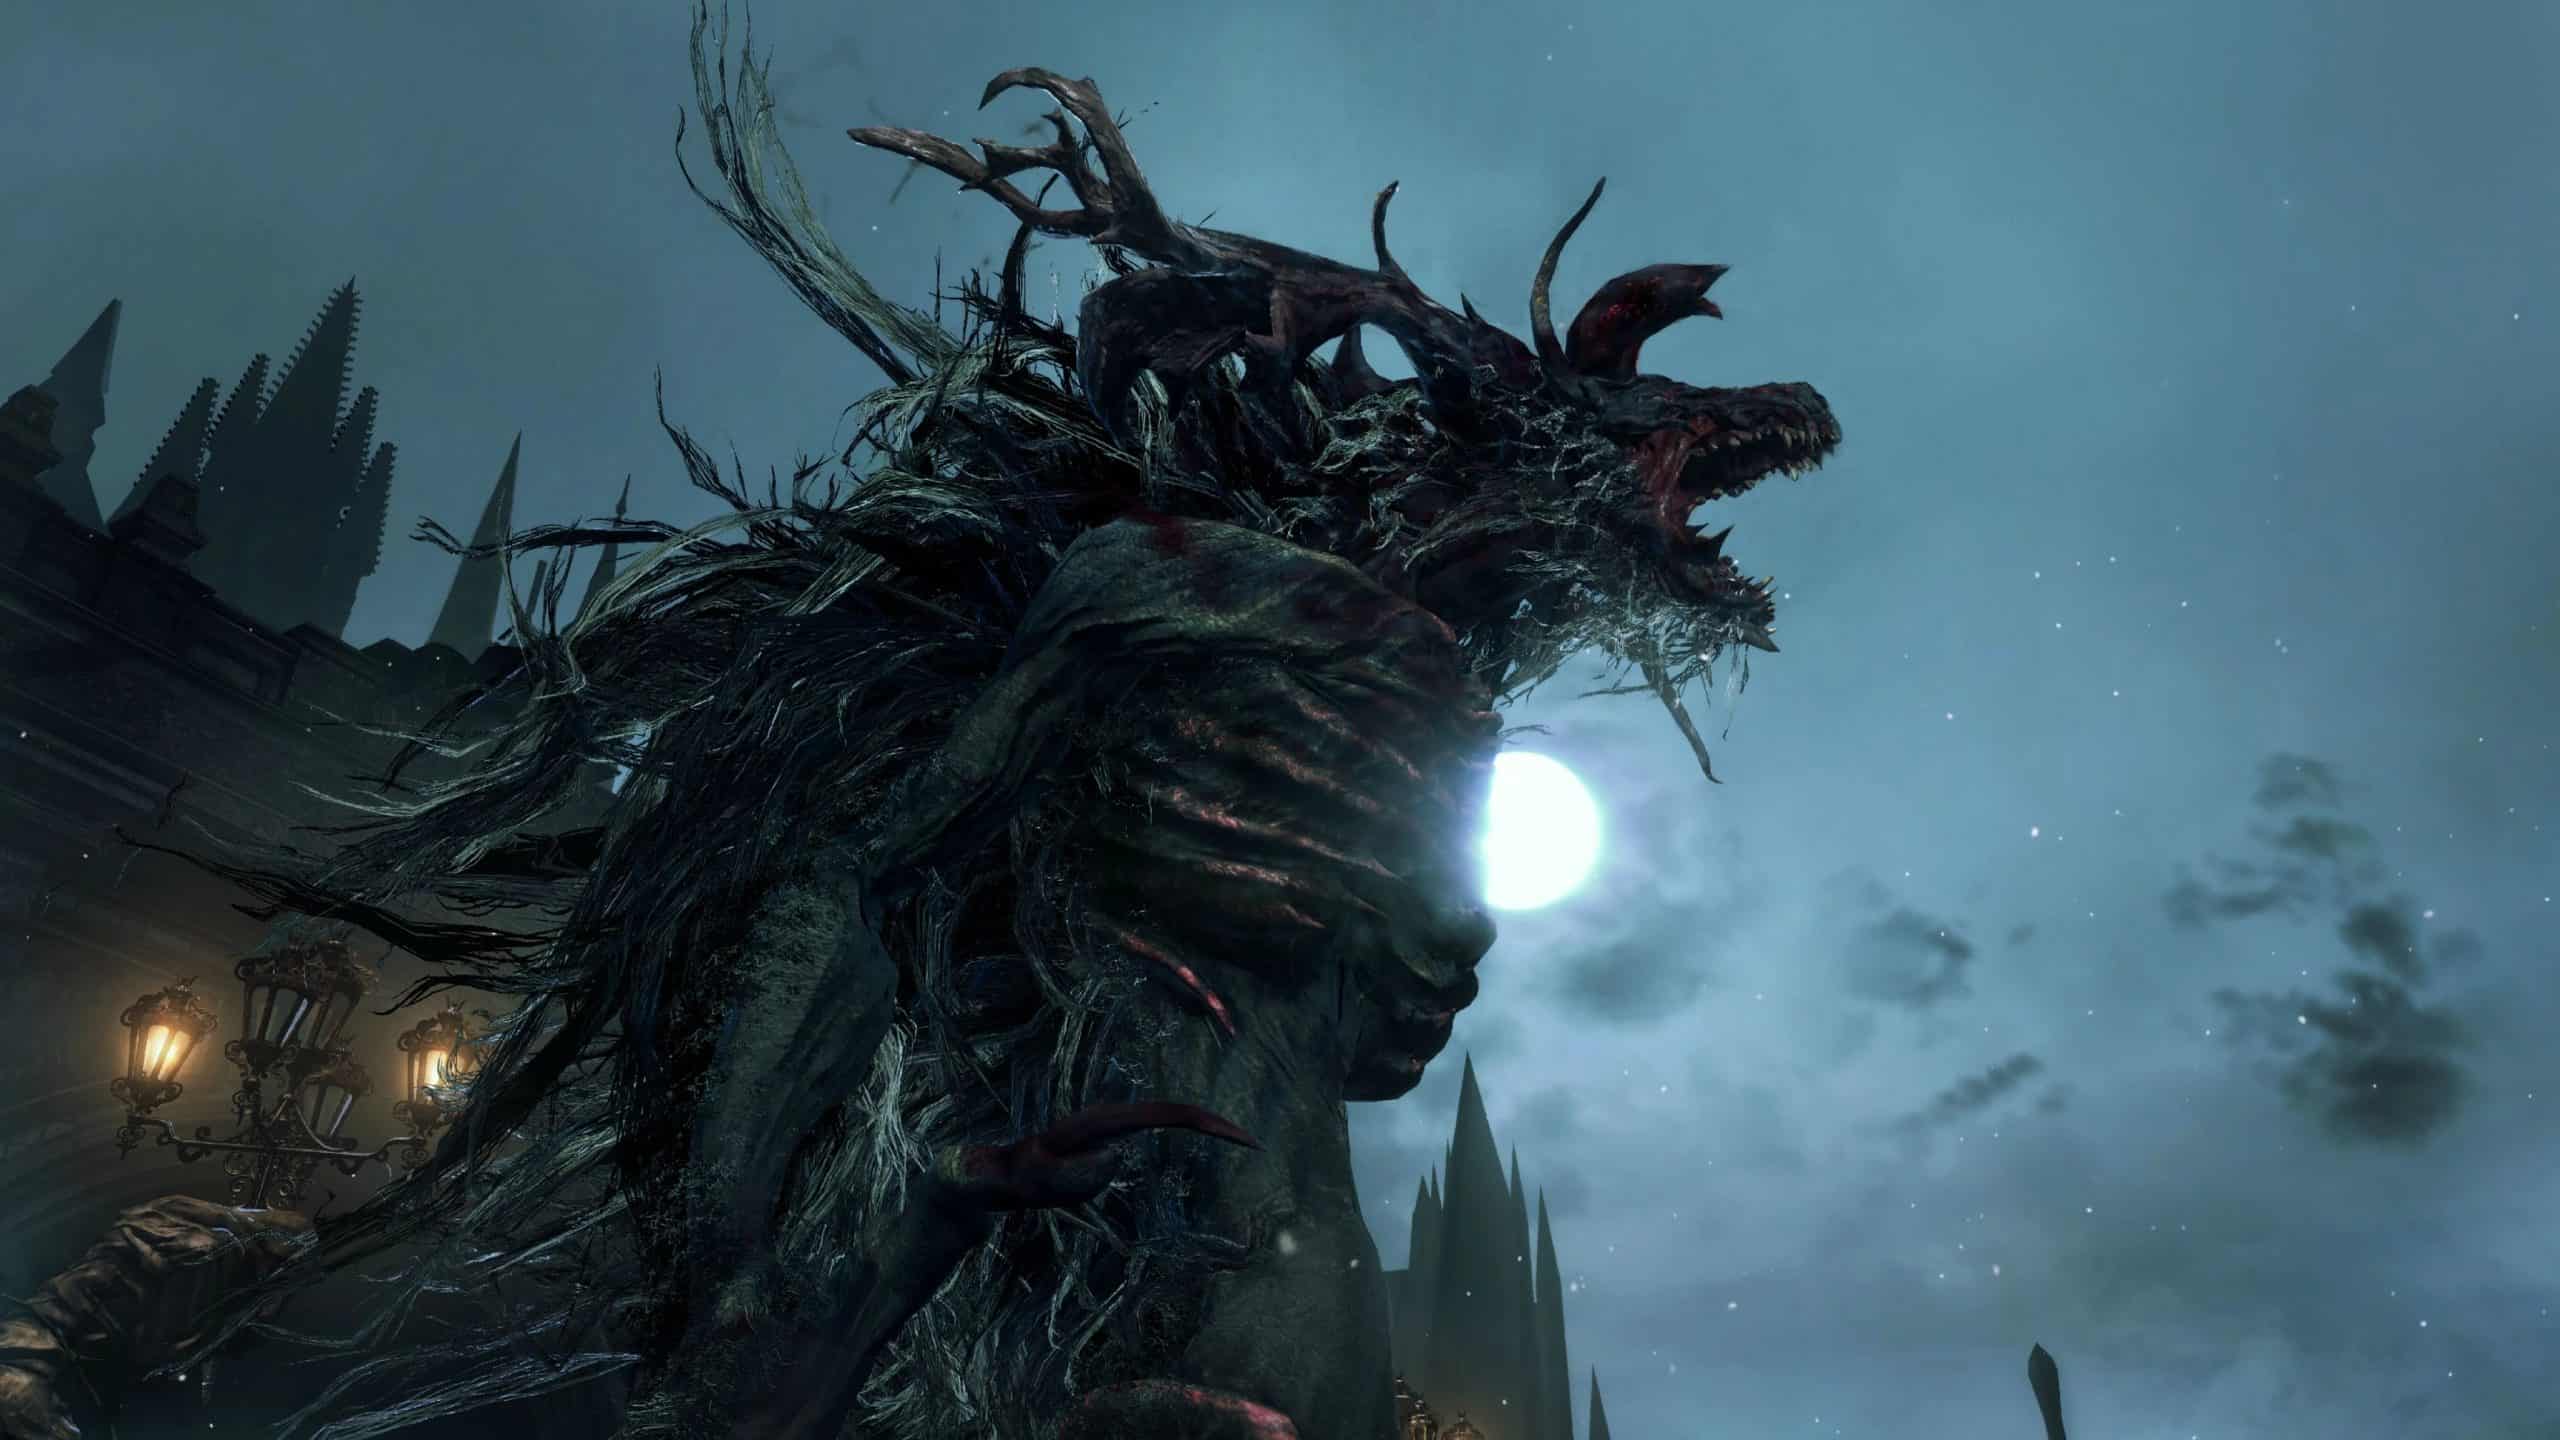
Cleric Beast
- Location — Central Yharnam
- HP — 3,015
- Weaknesses — Fire
- Blood Echoes — 4,000
Right ahead of the Witches of Hemwick is Bloodborne‘s first boss, the Cleric Beast. Even if you’re a total newcomer to Souls games or stuck in a Dark Souls mindset, Bloodborne‘s opening hour does a great job of preparing and acclimating players to what to expect from this big, beastly foe. Just circle strafe around the Cleric Beast and attack the rear for easy damage, and if you happen to have some Fire Paper to speed things up, all the better. The Cleric Beast lays a great foundation for what to expect from Bloodborne‘s many beast bosses, but it does so while being totally manageable as an initial encounter, regardless of build.
Celestial Emissary
- Location — Upper Cathedral Ward
- HP — 2,764
- Weaknesses — Bolt, Fire
- Blood Echoes — 24,640
You could honestly swap the Celestial Emissary’s spot on this list with the Cleric Beast and it would make sense, because by the time you get to this fight, you should be highly leveled enough to where the only real danger is getting overwhelmed by an enemy mob. The individual emissaries are easy enough to take out on their own, and when the bigger one eventually shows up, his attacks are well-telegraphed and very avoidable. With some well-timed application of Bolt Paper, this fight is usually over just as soon as it begins, provided you aren’t careless.
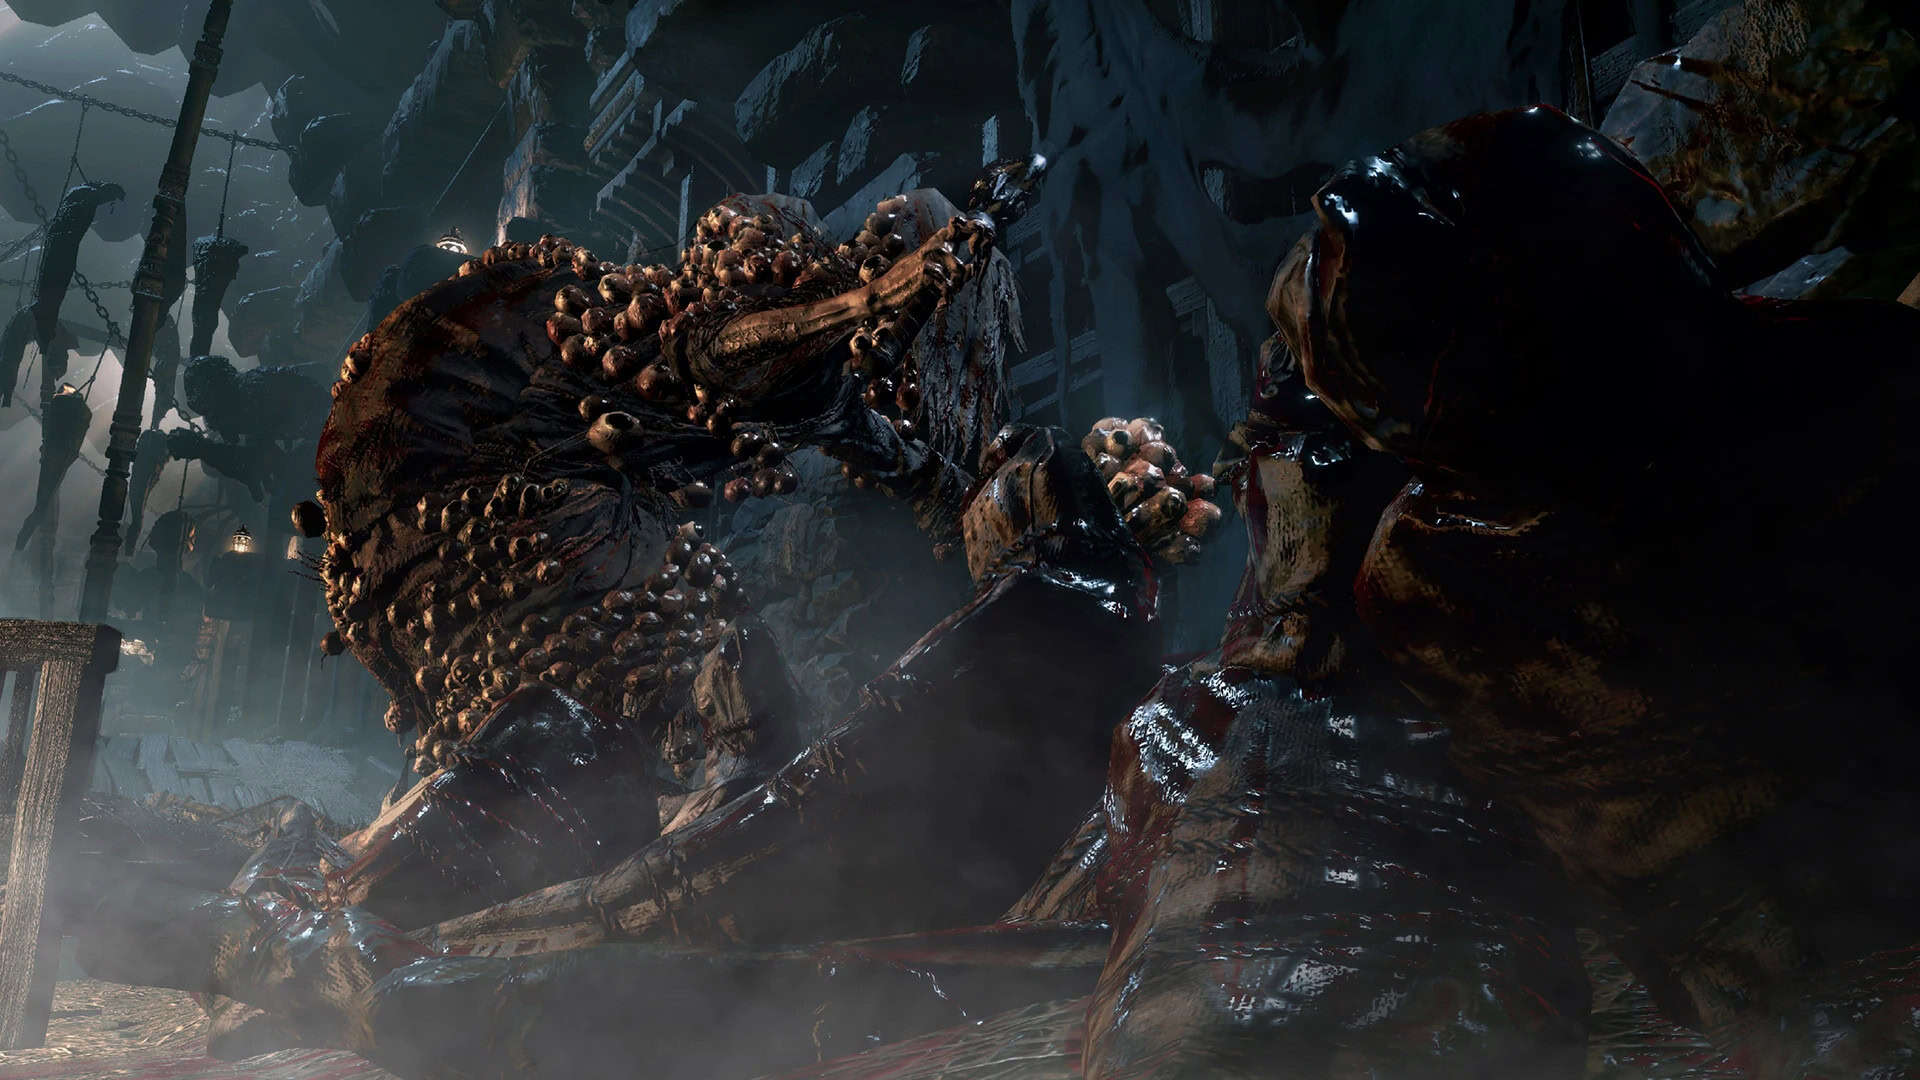
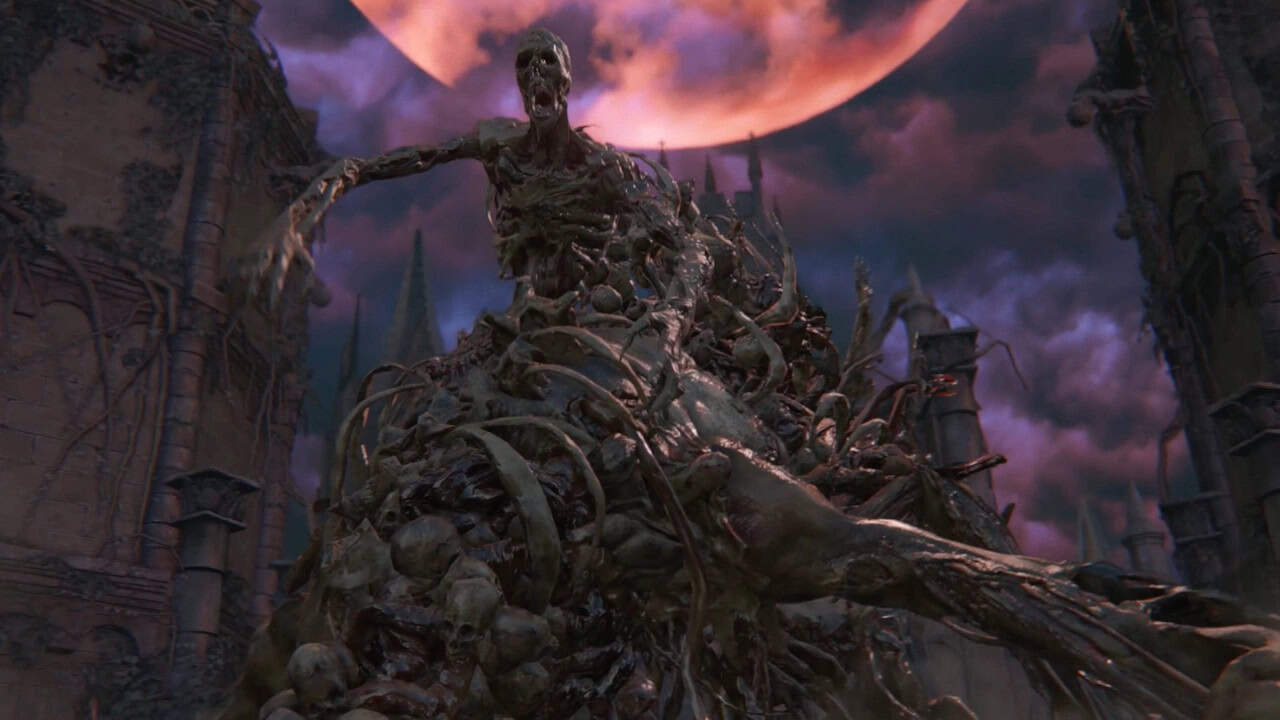
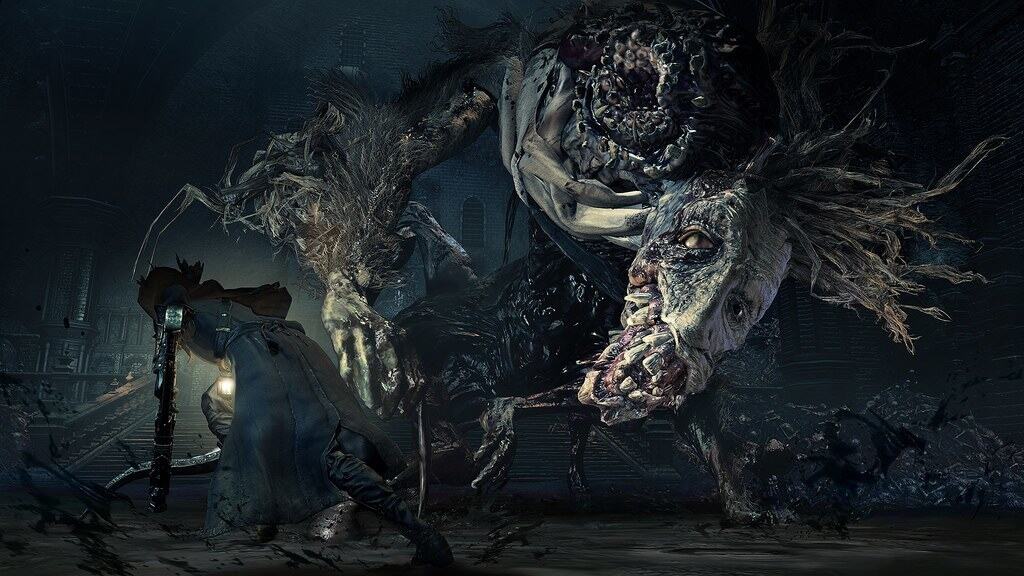
The One Reborn
- Location — Yahar’gul, Unseen Village
- HP — 10,375
- Weaknesses — Bolt, Fire
- Blood Echoes — 36,300
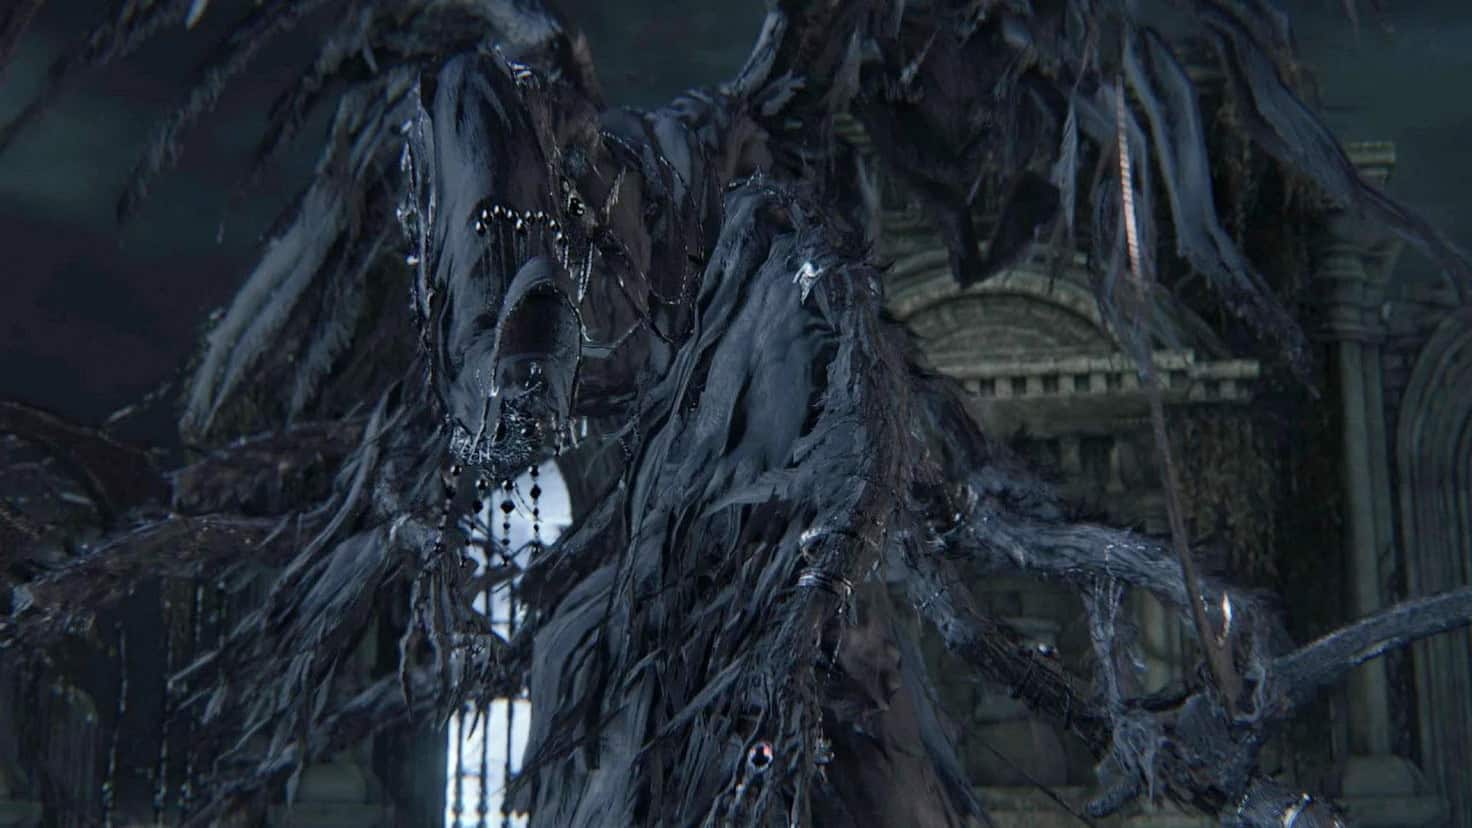
The actual fight against The One Reborn itself isn’t so bad, especially with some Fire or Bolt Paper handy. No, it’s the fireball-throwing witches that line the balconies overlooking the arena that pose the greatest threat, and once you know to take them out first, the rest of the fight against this hulking, poison-spewing mass of corpses isn’t nearly as bad. You still have to watch out for what can be some fairly devastating AoE attacks, but taking out the enemy mobs that are attacking you from range makes this fight way more manageable than it would be otherwise.
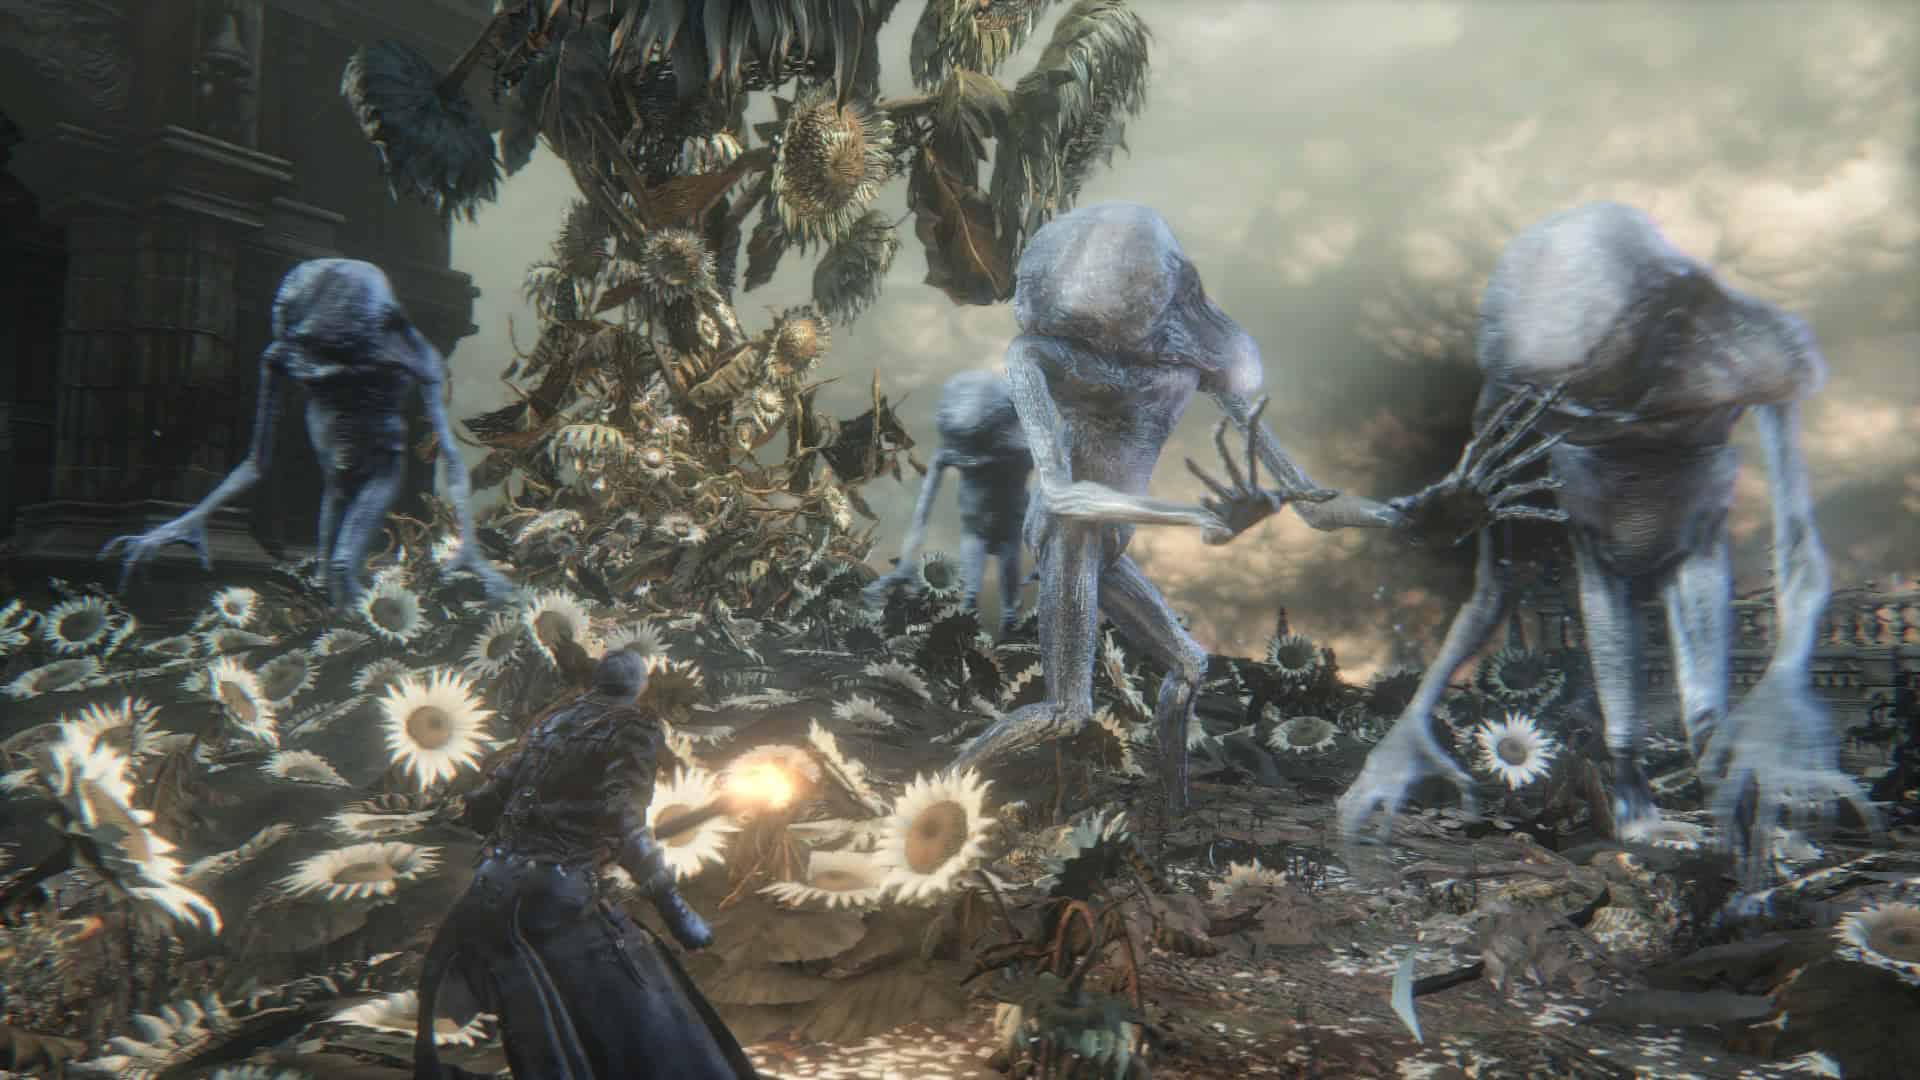
Living Failures
- Location — Research Hall (The Old Hunters DLC)
- HP — 20,646
- Weaknesses — Bolt
- Blood Echoes — 22,000
The Living Failures are similar to the Celestial Emissary, with the one major difference being that there are fewer of them and they can hit like an absolute dump truck. As long as you stay mobile during the fight and learn the trajectory of their meteor attacks, you can reasonably stay alive long enough to outlast the group, singling in on one foe and taking each of the failures out one at a time. But doing so is a lot easier said than done. These enemies have a tendency to try and swarm you, and if you’re boxed in and unable to move, chances are you won’t last long.
Mergo’s Wet Nurse
- Location — Nightmare of Mensis
- HP — 14,081
- Weaknesses — Poison
- Blood Echoes — 72,000
For what amounts to one of Bloodborne‘s final “regular” bosses before the ultimate encounter against Gehrman, you’d expect Mergo’s Wet Nurse to be more difficult. And, to be fair, she does have some attacks that can throw you for a loop, like her ability to straight-up vanish from the arena, only to reappear and launch into a powerful combo. But, as long as you stay mobile, you can ultimately outrun and outlast the Wet Nurse, and if you use poison in this fight, the steady drain on her health ends up doing most of the work for you. This fight is more about the spectacle and atmosphere than any real danger, which is honestly a blessing considering what you’re up against afterwards.
Amygdala
- Location — Nightmare Frontier
- HP — 6,404
- Weaknesses — Arcane, Bolt, Fire
- Blood Echoes — 21,000
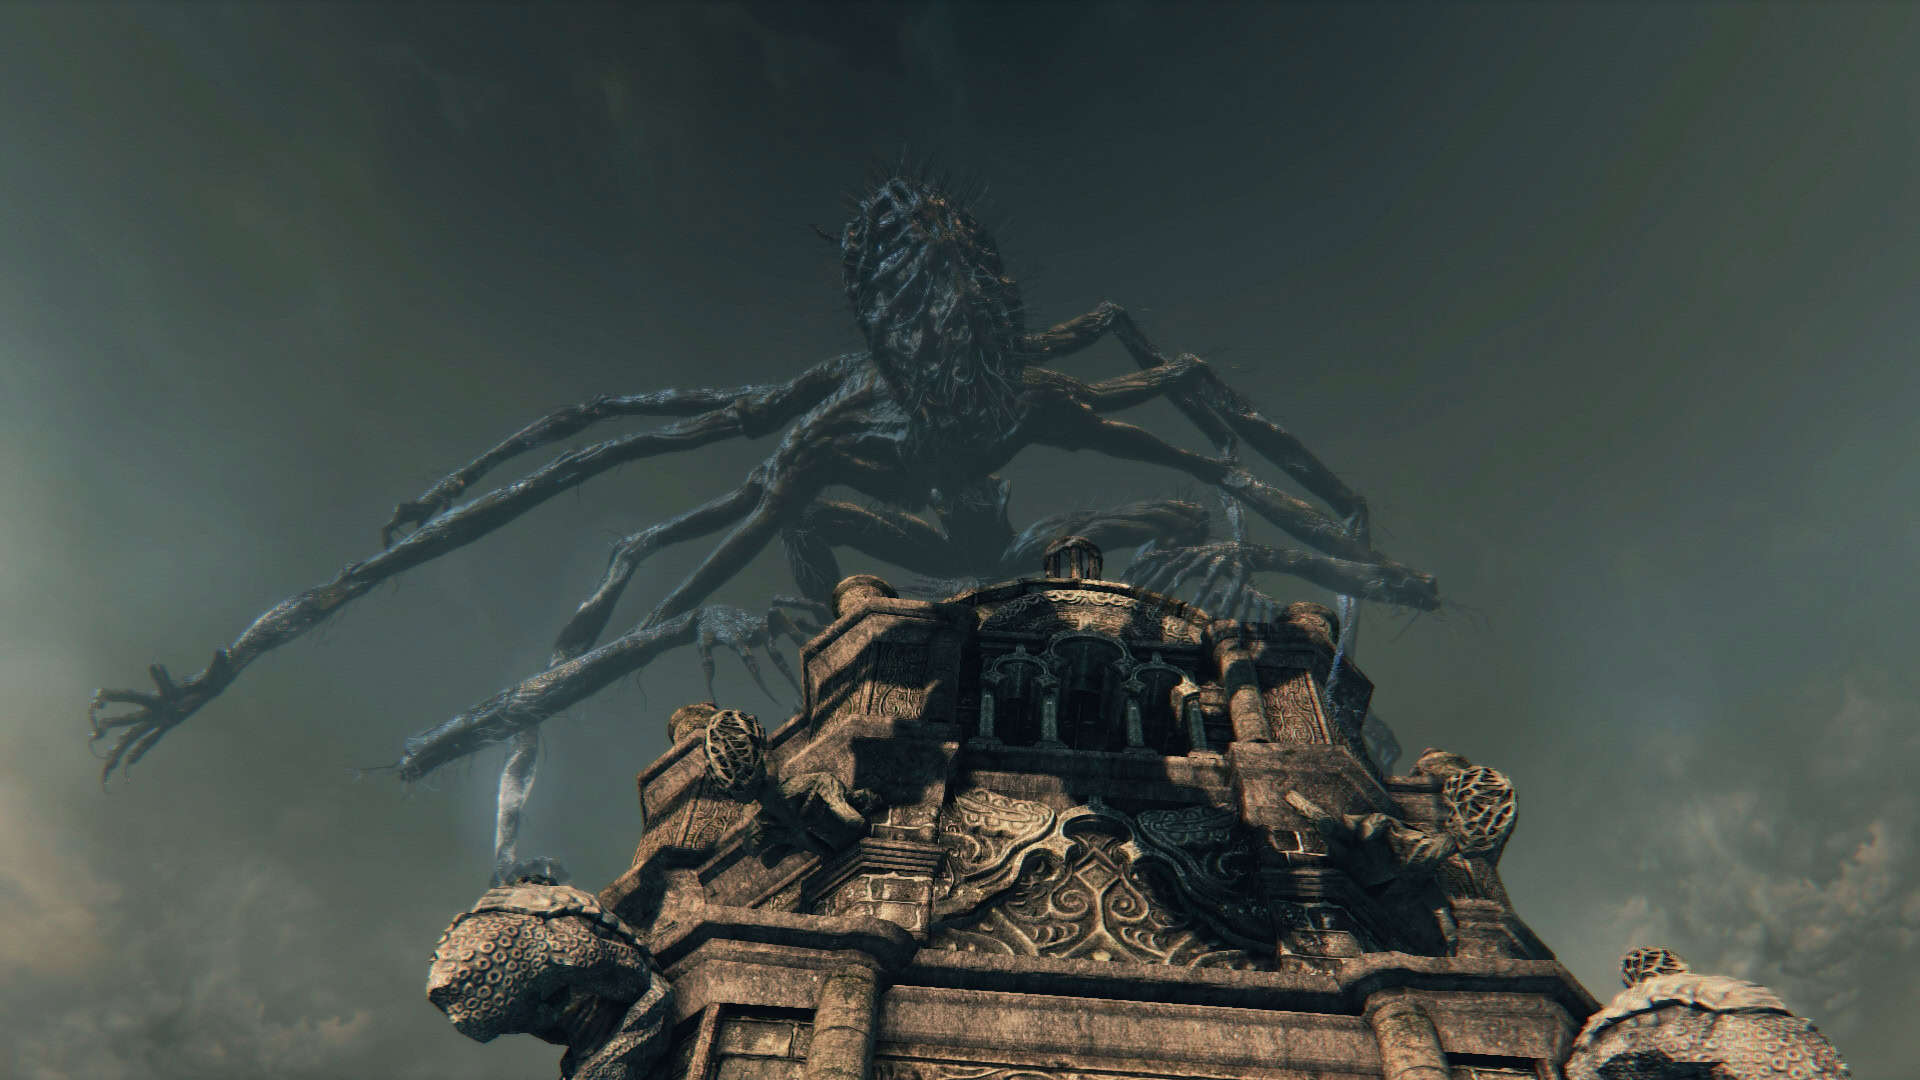
Amygdala is both the biggest boss in Bloodborne and one of the biggest bosses that FromSoftware has ever designed, which means this fight can go one of two ways. If the camera decides to cooperate and your build allows for it, you can easily bait and punish Amygdala’s head for massive damage, making sure to steer clear of his wild swings and devastating ground slams. But if your build can’t compensate for that strategy, be prepared to fight the camera as much as Amygdala itself, because it’s a struggle to just keep track of where and when to go on the offensive.
Vicar Amelia
- Location — Cathedral Ward
- HP — 5,367
- Weaknesses — Fire
- Blood Echoes — 15,000
Between Amygdala and now Vicar Amelia, we’ve officially crossed the threshold between Bloodborne‘s small handful of relatively “easy” bosses and the ones that present some truly challenging encounters. Vicar Amelia may be one of a few “beast”-type bosses in Bloodborne, but her movements are far too erratic and unpredictable to use the traditional “circle-strafe and attack the rear” strategy that carried similar fights in the rest of FromSoftware’s catalog. No, instead, Vicar Amelia is another major step up in difficulty right in between the game’s two biggest early-game skill-checks (more on those soon), and she’s a great example of how powerful elemental weaknesses can be in Bloodborne. Use some Fire Paper and/or a serrated weapon and thank me later.
Father Gascoigne
- Location — Central Yharnam
- HP — 2,031
- Weaknesses — Fire
- Blood Echoes — 1,800
Here it is: Bloodborne‘s first real skill-check and the real test of coming to grips with the game’s new mechanics, Father Gascoigne. The Cleric Beast is technically the “first” boss in Bloodborne, but it doesn’t do much to differentiate itself from what experienced Dark Souls players may have come up against previously. Comparatively, the fight against Father Gascoigne is a whole different ball game. He’s incredibly aggressive, forcing you to stay on the move and press the attack, lest he flips the script on you and takes the advantage.
If you’ve mastered the art of parrying with one of Bloodborne‘s firearms by the time this fight rolls around, it’s a perfect place to test out that skill, deflecting his attacks and using some Visceral hits or backstabs to rapidly drain his health. Once you come out the other side, you’ll be prepared for much of what Bloodborne has to throw at you.
Darkbeast Paarl
- Location — Hypogean Gaol
- HP — 4,552
- Weaknesses — Arcane, Fire
- Blood Echoes — 23,100
Depending on who you ask, Darkbeast Paarl can either be one of the easiest or hardest bosses in Bloodborne, and that mostly comes down to a player’s build and particular playstyle. With the right armor (especially something that’s strong against Bolt), you can negate most of the damage that Paarl dishes out, and the ability to stagger him with charged attacks and then go in for an absolutely devastating Visceral Attack only further evens the score. But without the right preparation, Darkbeast Paarl’s AoE attacks and Bolt-infused damage can really put Hunters through the ringer. For that, Paarl earns a spot practically smack dab in the middle of a difficulty ranking.
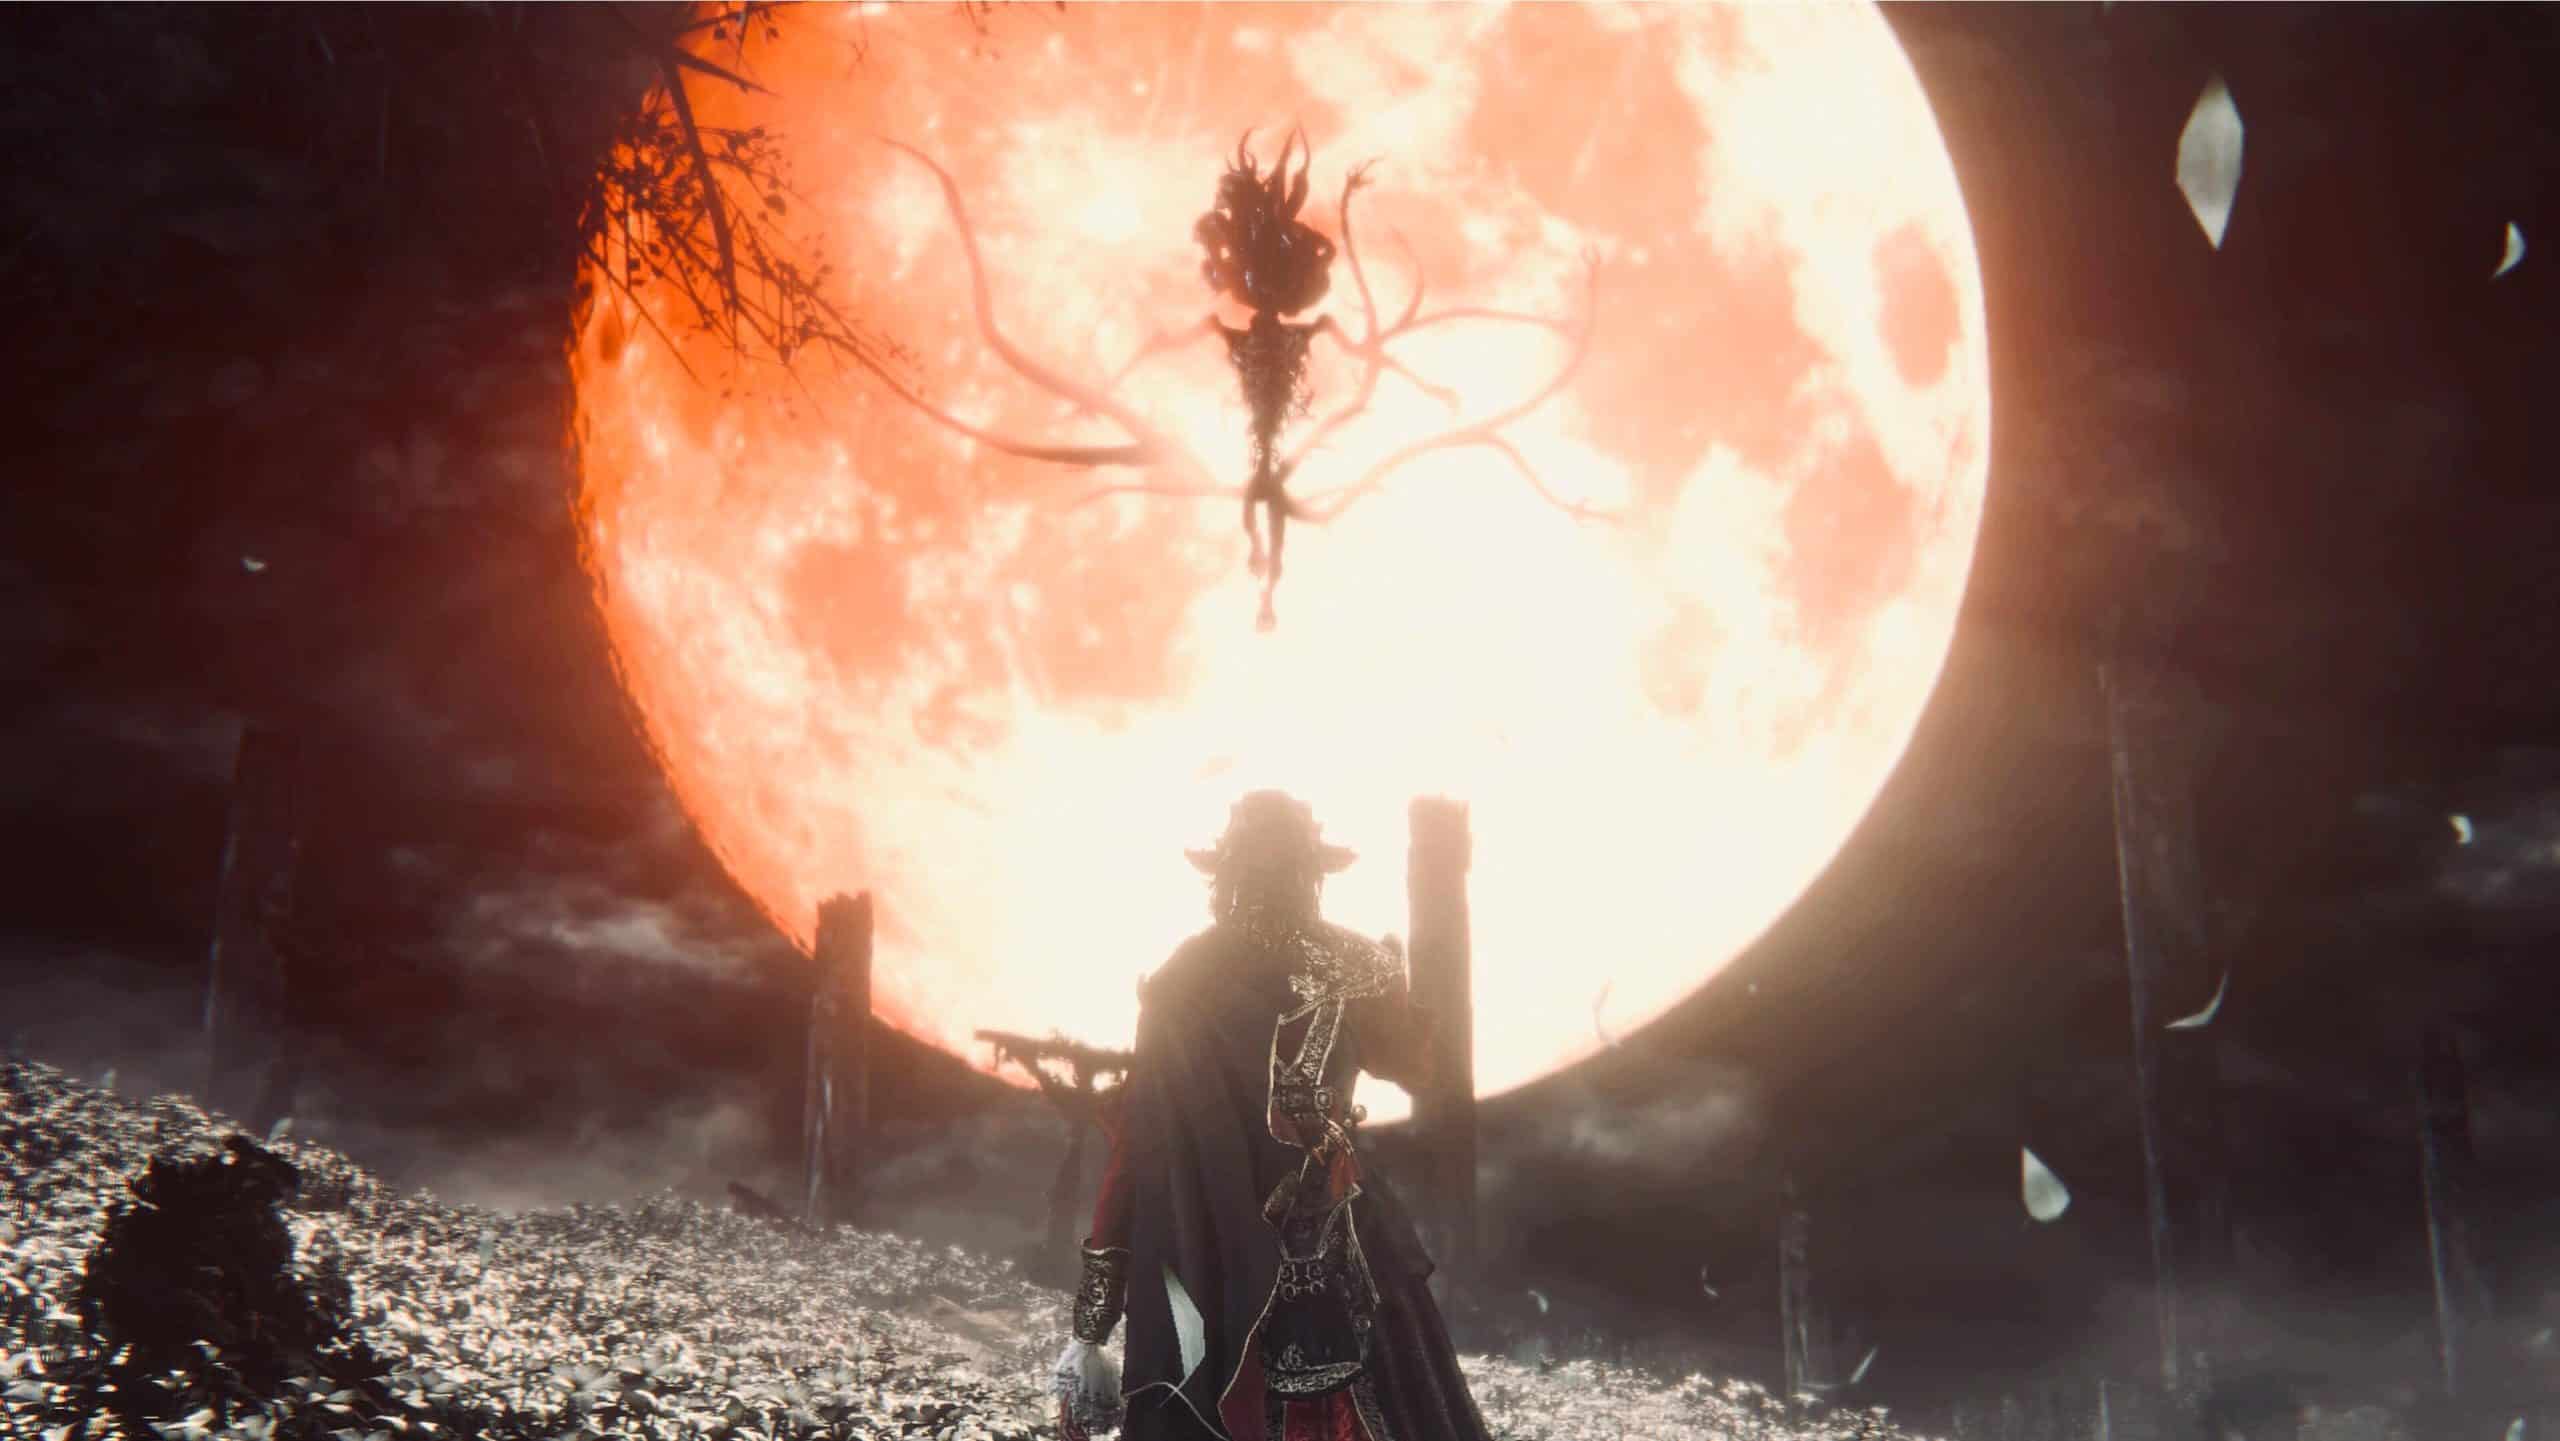
Moon Presence
- Location — Hunter’s Dream
- HP — 8,909
- Weaknesses — Visceral Attacks
- Blood Echoes — 230,000
For being the “true” final boss of Bloodborne (at least if you want what’s considered to be the game’s canon ending), you’d expect the Moon Presence to be harder than it is. In actuality, the Moon Presence is almost a nice reprieve after the penultimate fight against Gehrman in the Hunter’s Dream, though it does have some fairly nasty combos that can quickly wipe you out if you’re not careful. Staying at a decent mid-range distance from the boss will allow you to bait its attacks, dodge them appropriately, and then go in for the kill. Rinse and repeat this process while keeping an eye on your health, and you’ll be well on your way to being reborn as a Great Old One.
Lady Maria of the Astral Clocktower
- Location — Astral Clocktower (The Old Hunters DLC)
- HP — 14,081
- Weaknesses — N/A
- Blood Echoes — 39,000
She might not be the hardest boss in Bloodborne, but Lady Maria of the Astral Clocktower is an easy pick for being the best boss in the game, and a lot of that has to do with the proportionality of the fight’s challenge to its fun factor. As someone who normally mains the Threaded Cane, learning Lady Maria’s moveset (most of which can be avoided with a simple sidestep to her left side) and then countering her attacks with a well-timed parry is one of the most satisfying parts of each playthrough. You can think of Lady Maria as a sort of advanced version of the Father Gascoigne fight with how much parrying tips the scales, but the music, arena, and lore significance easily trump it. It’s also a good bit more difficult, even if you’re extremely high leveled.
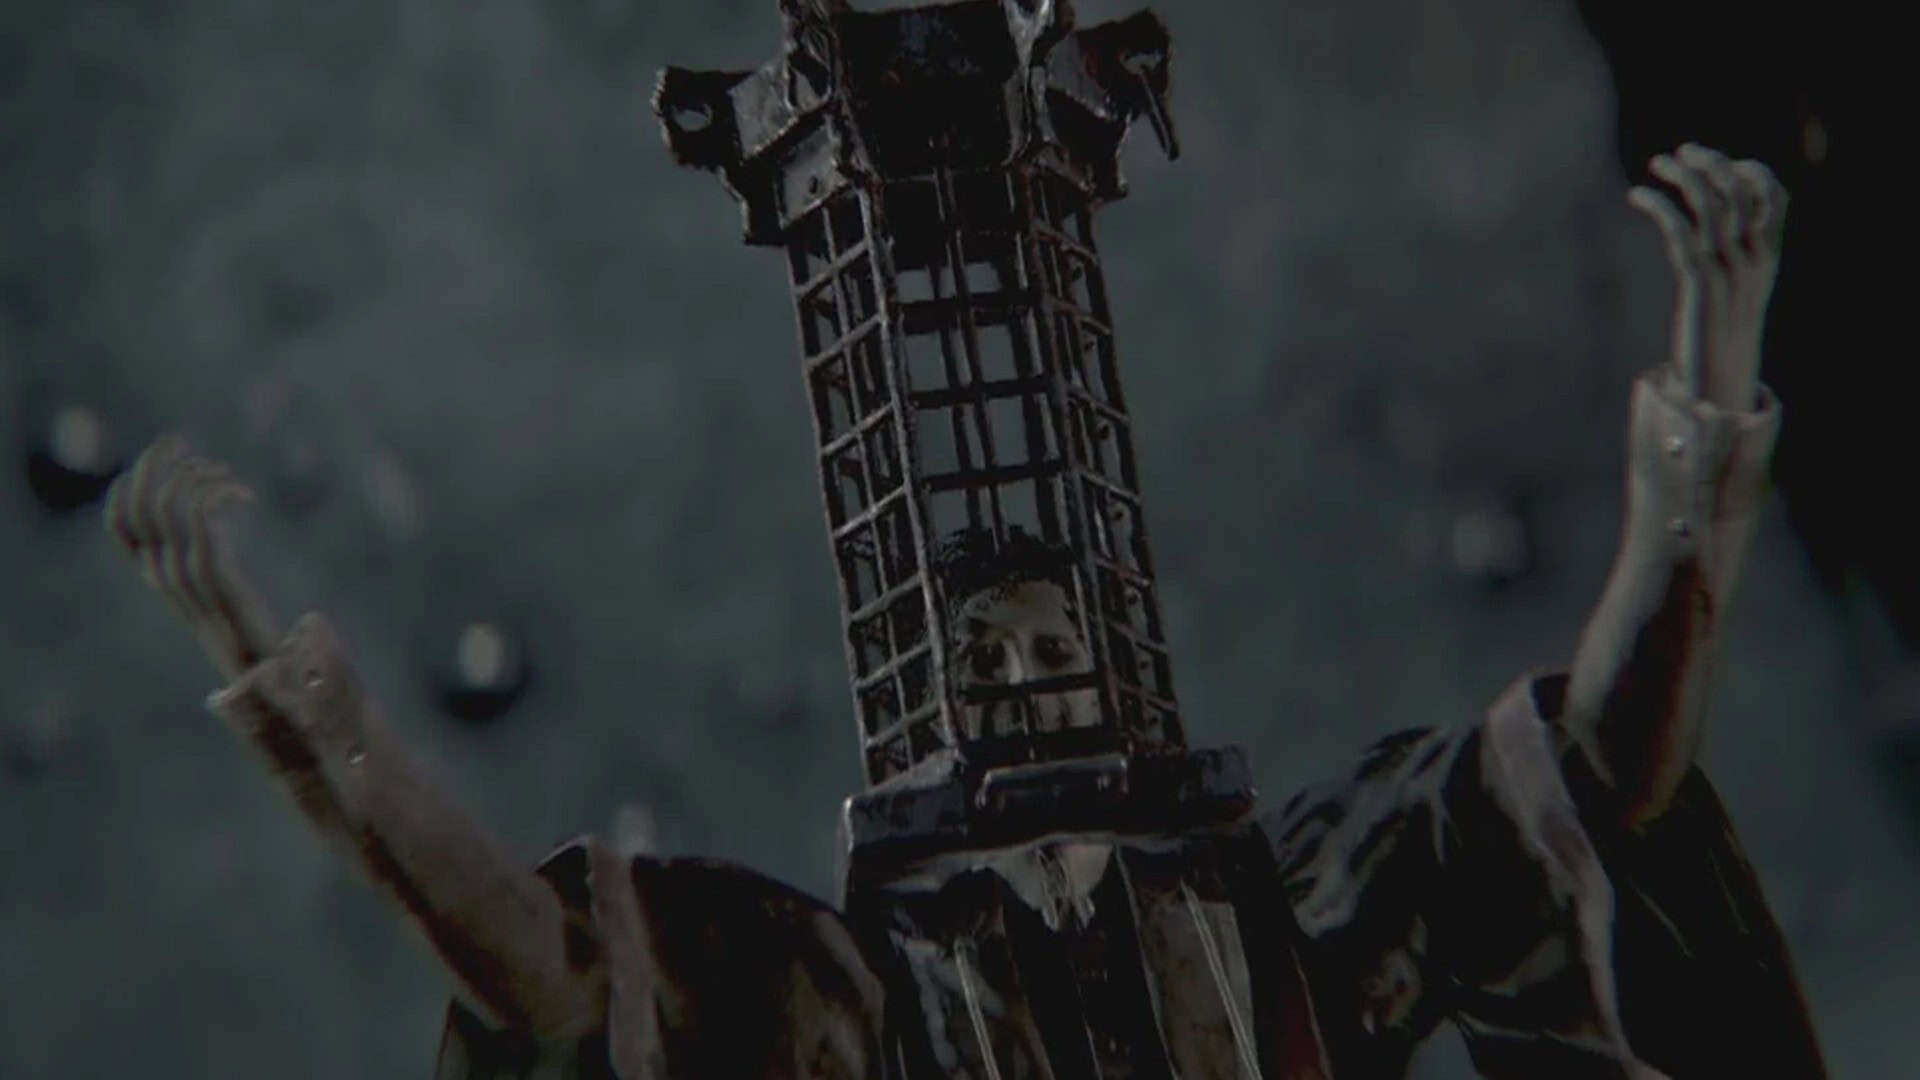
Micolash, Host of the Nightmare
- Location — Nightmare of Mensis
- HP — 5,250
- Weaknesses — Bolt, Fire, Poison
- Blood Echoes — 48,400
The fight against Micolash is pretty much universally hated by Bloodborne players, and for good reason. Rather than serve as a true test of skill, Micolash is a sort of gimmick boss that begins with a dizzying chase through the labyrinthine halls of the Nightmare of Mensis, only to then culminate in a closed-off arena where getting hit by one of Micolash’s ultimate attacks (A Call Beyond) is enough to instantly kill even the most Vitality-obsessed Hunter. With a heavy weapon in tow, or at least an attack that can stagger him, you can prevent Micolash from casting A Call Beyond with staggering, but losing this fight just to have to commit to the chase sequence again is a major pain. Host of the Nightmare, indeed.
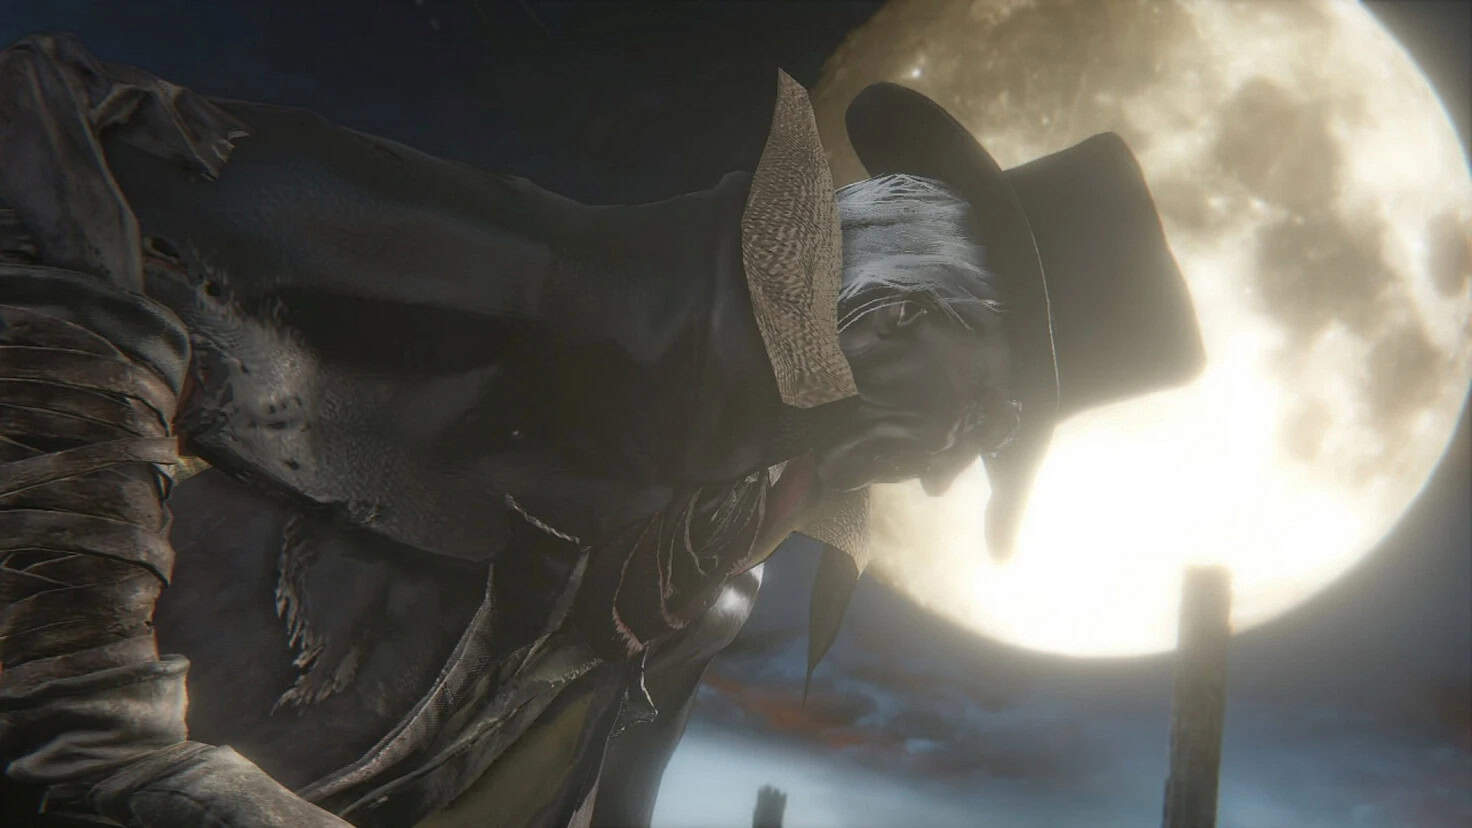
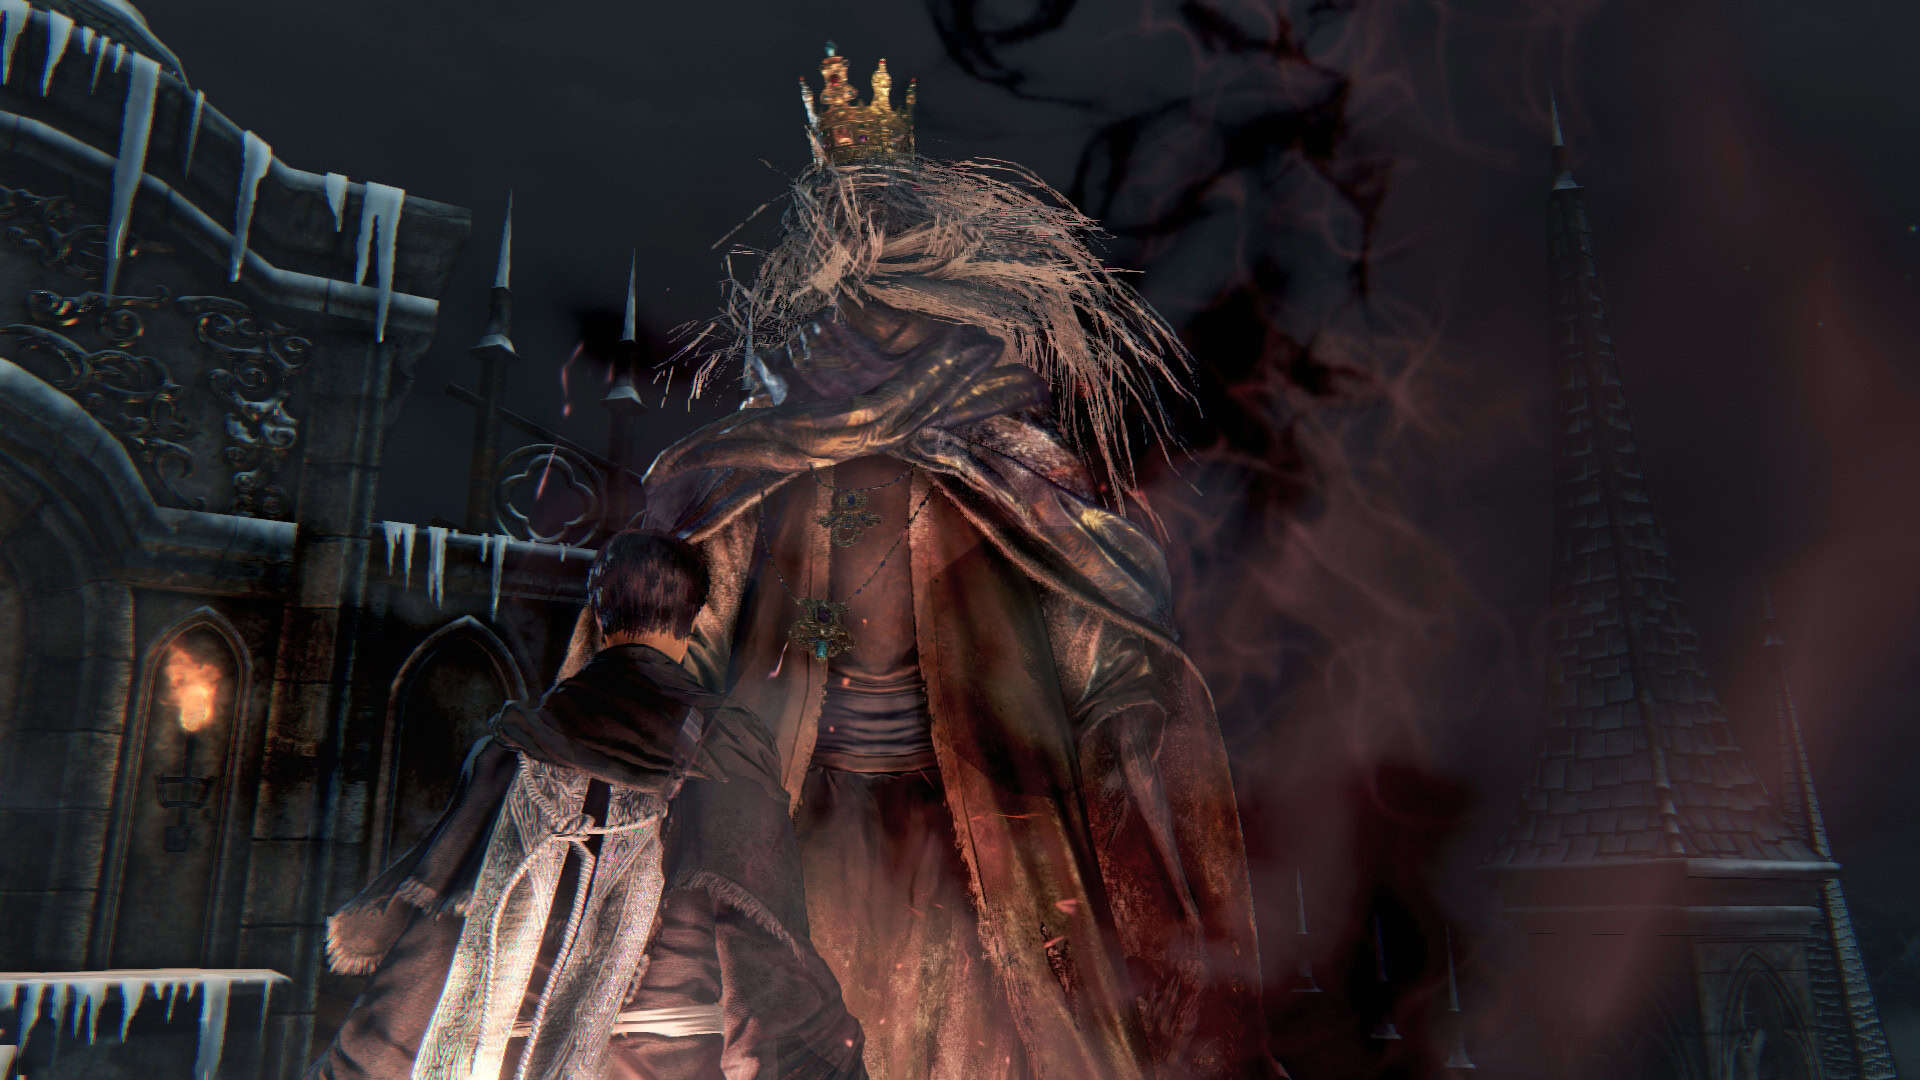
Gehrman, the First Hunter
- Location — Hunter’s Dream
- HP — 14,293
- Weaknesses — Bolt, Fire
- Blood Echoes — 128,000
As Bloodborne‘s official final boss, Gehrman is about as peak as it gets in terms of actual fight mechanics and the atmosphere of the encounter. His moveset completely shifts between his second and first phases, which forces the player to learn how to respond to each in kind. That said, if you’ve fully mastered the art of parrying by the end of the game, you’ll be rolling credits on Bloodborne before you know it, because most of Gehrman’s attacks have pretty recognizable tells that you can easily deflect with a parry and then take advantage of with a follow-up Visceral Attack. Getting to that point will likely take most players some serious trial-and-error, though.
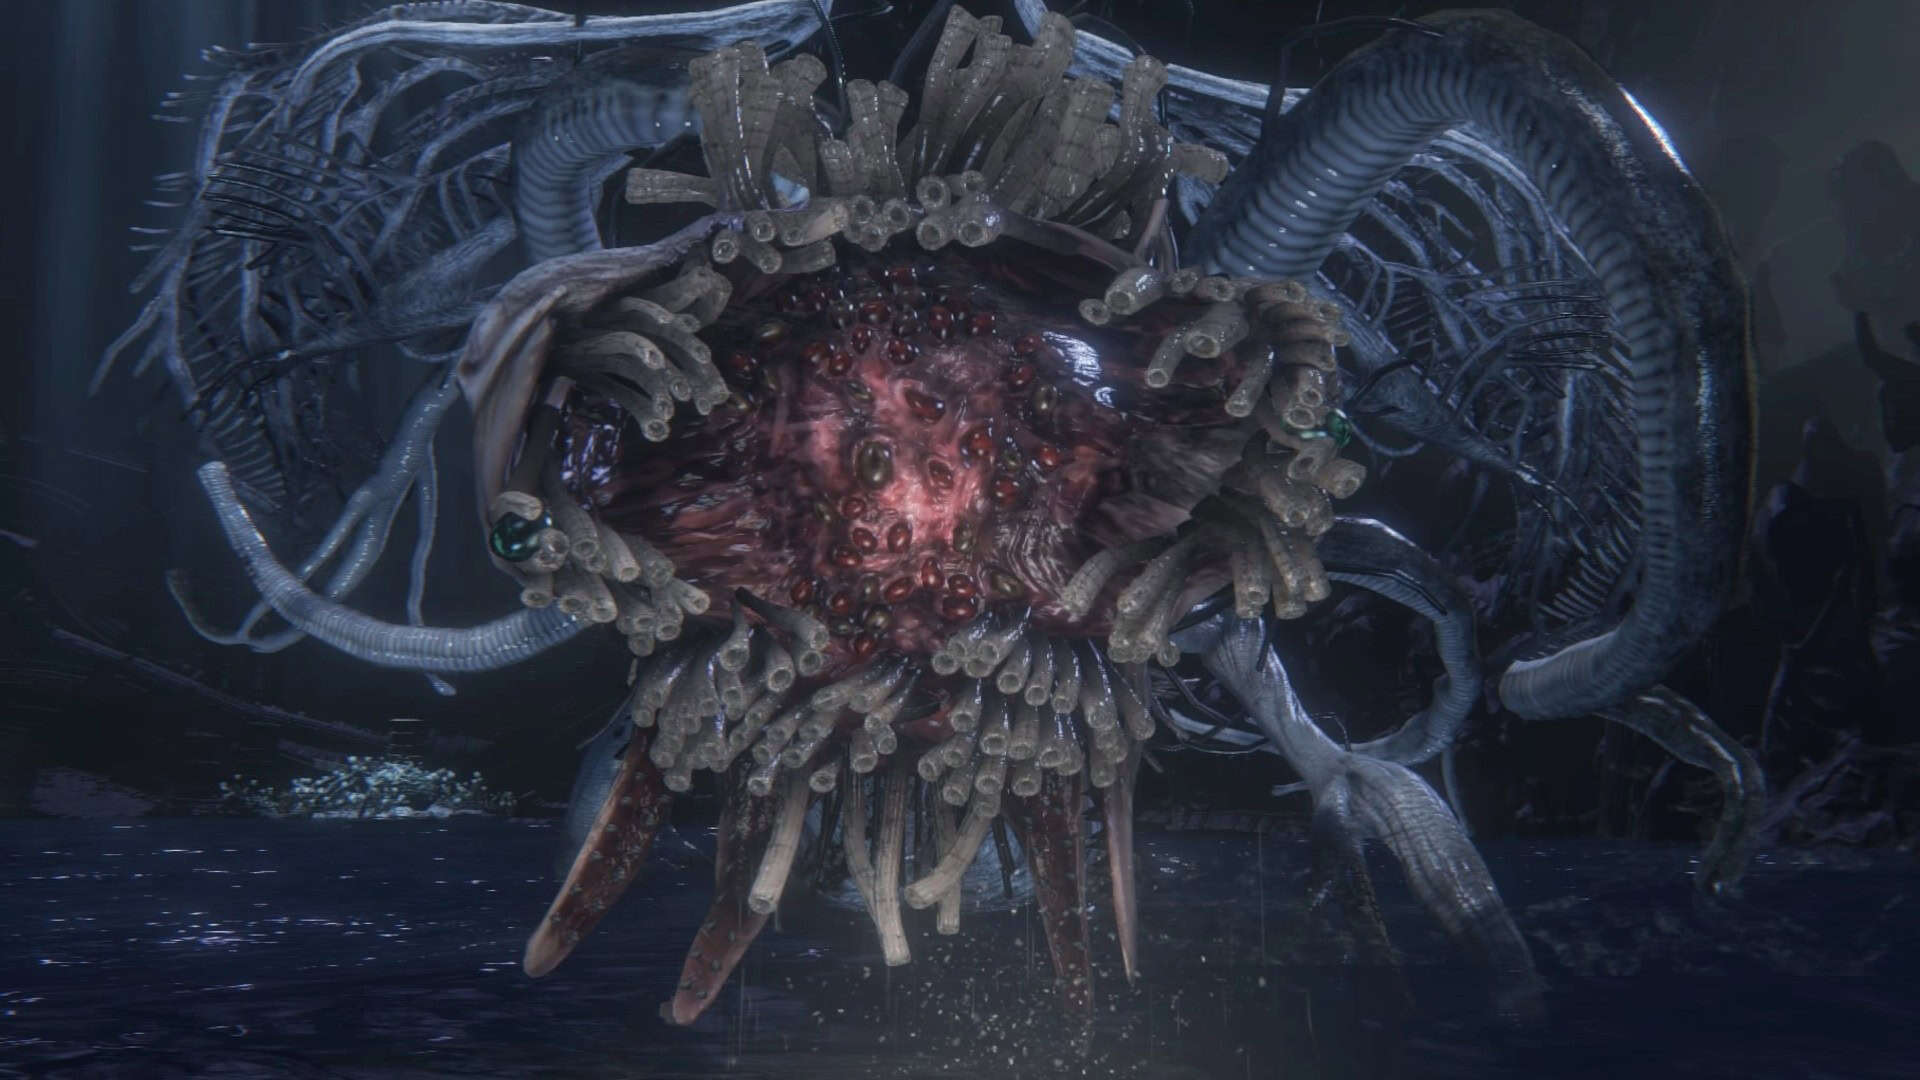
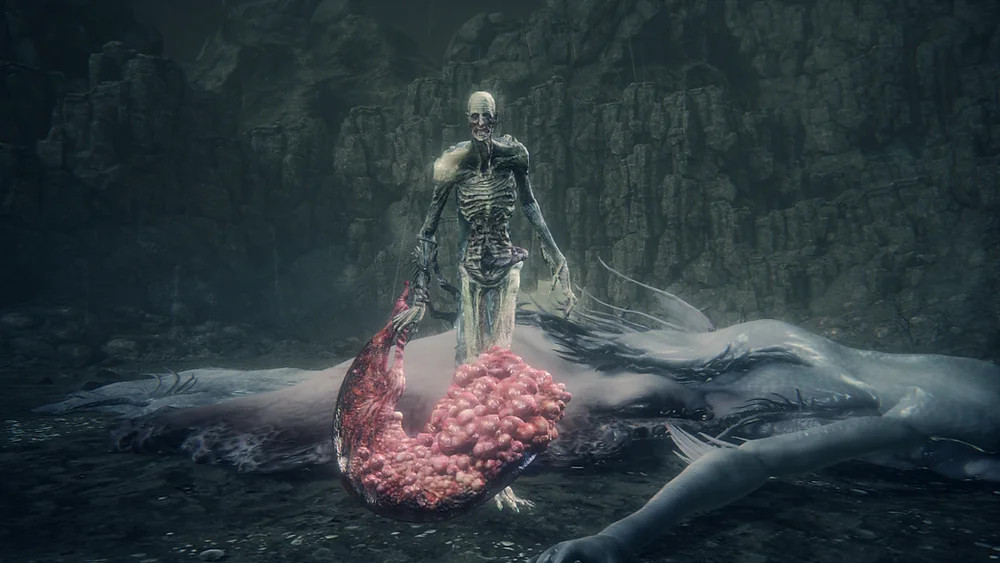
Ebrietas, Daughter of the Cosmos
- Location — Altar of Despair
- HP — 12,493
- Weaknesses — Bolt
- Blood Echoes — 36,300
Simply getting to Ebrietas is nearly as much or more of a challenge than the actual fight against her, and that’s saying a lot, because she’s certainly no pushover. Even if you’re overleveled and coming into the fight with a powerful weapon and plenty of Bolt Paper, Ebrietas can easily take out the most prepared Hunters with powerful ranged attacks and some deadly hits at close proximity. Funnily enough, though, it’s the tried-and-true “circle-strafe and attack the rear” boss strategy that works best against Ebrietas, after plenty of other large “beast”-type bosses have tried to train that mindset out of you. As the saying goes, the classics never go out of style.
Rom, the Vacuous Spider
- Location — Moonside Lake
- HP — 5,058
- Weaknesses — Bolt
- Blood Echoes — 36,300
Ah yes, everyone’s favorite void-dwelling spider, Rom. Along with the Father Gascoigne fight, the battle against Rom is one of a handful of Bloodborne‘s skill checks that players are bound to come up against, and that it comes so soon after the one preceding it (Blood-Starved Beast) almost feels cruel. Thankfully, the fight against Rom is completely different from most other encounters in the game, rewarding patience and strategy more than outright aggression, even becoming marginally easy with the right build. Rom herself isn’t as much of a threat as the spiderlings that are seemingly endless and love to gang up on you, so if you can figure out a way to rout them and get in some good hits to the main spider’s head, you’re off to the races.
Ludwig, The Accursed/Holy Blade
- Location — The Hunter’s Nightmare (The Old Hunters DLC)
- HP — 16,658
- Weaknesses — Arcane, Bolt, Fire
- Blood Echoes — 34,500
Some players might be surprised to see Ludwig so far down the list, but the truth is that many players (myself included) seem to have a much easier time with him than others, all thanks to how their favorite build manages to merge with their personal playstyle. Ludwig is huge as far as his physical size, hits hard, is maybe the most aggressive boss in Bloodborne (barely giving players breathing room to go on the offensive), and has a handful of attacks that can one-shot you. But even with all of that, learning how to stagger him (attack his weak-looking dangly bits) and how to avoid his massive AoE slams is just about all you need to emerge victorious. This is the rare FromSoftware fight where the second phase honestly seems easier than the first.
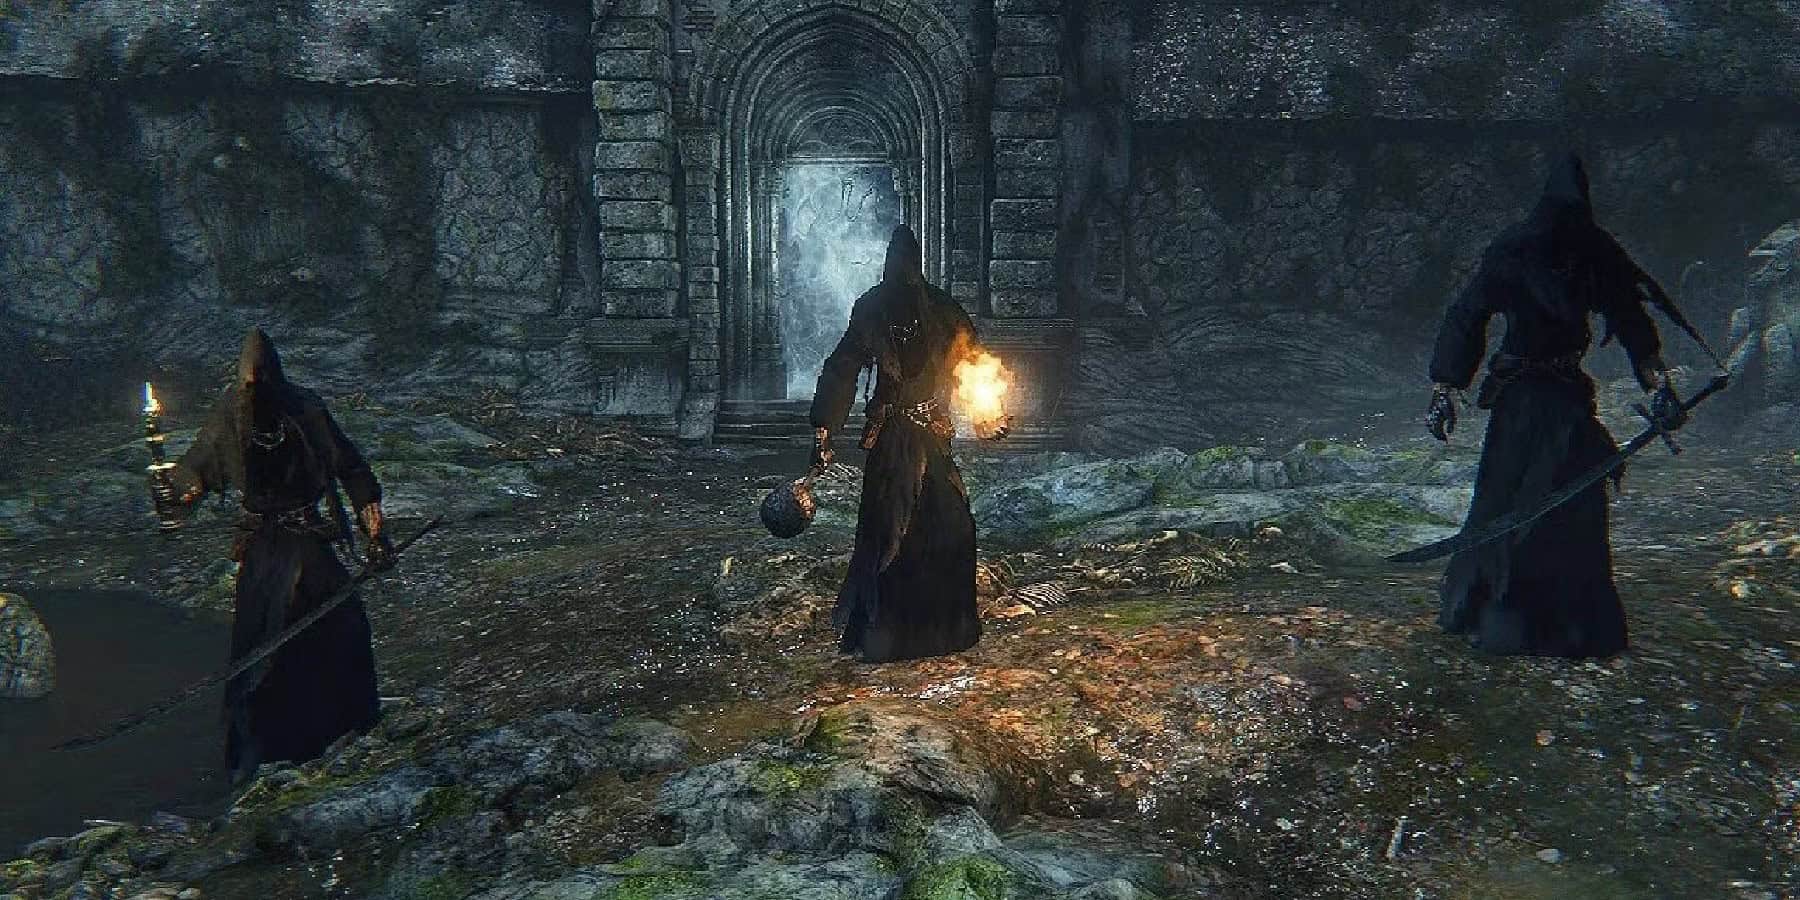
Shadow of Yarnham
- Location — Forbidden Woods
- HP — 2,046; 2,602; 3,645
- Weaknesses — Bolt
- Blood Echoes — 20,460
No matter how many times you’ve played Bloodborne or how experienced you consider yourself with FromSoftware’s particular brand of stamina-managed combat, the Shadow of Yharnam is bound to give you trouble when you reach their arena nestled in the Forbidden Woods. The only “true” gank fight in Bloodborne, the three Shadows are relentless in their pursuit of the player, making it incredibly difficult to focus solely on eliminating one at a time, which is only made worse by the fact that eliminating each Shadow makes the surviving ones more aggressive. And if the last one is the one of the three who happens to be strong against Bolt, you might be in for a bad time.
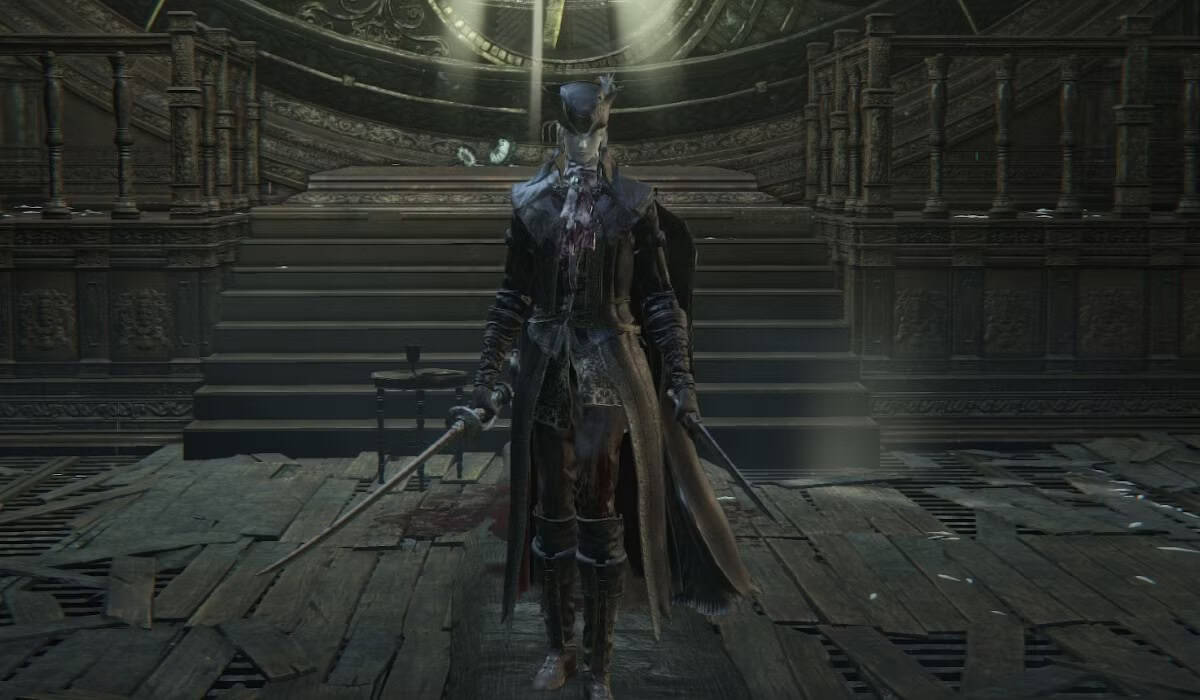
Martyr Logarius
- Location — Forsaken Castle Cainhurst
- HP — 9,081
- Weaknesses — Firearms, Visceral Attacks
- Blood Echoes — 25,600
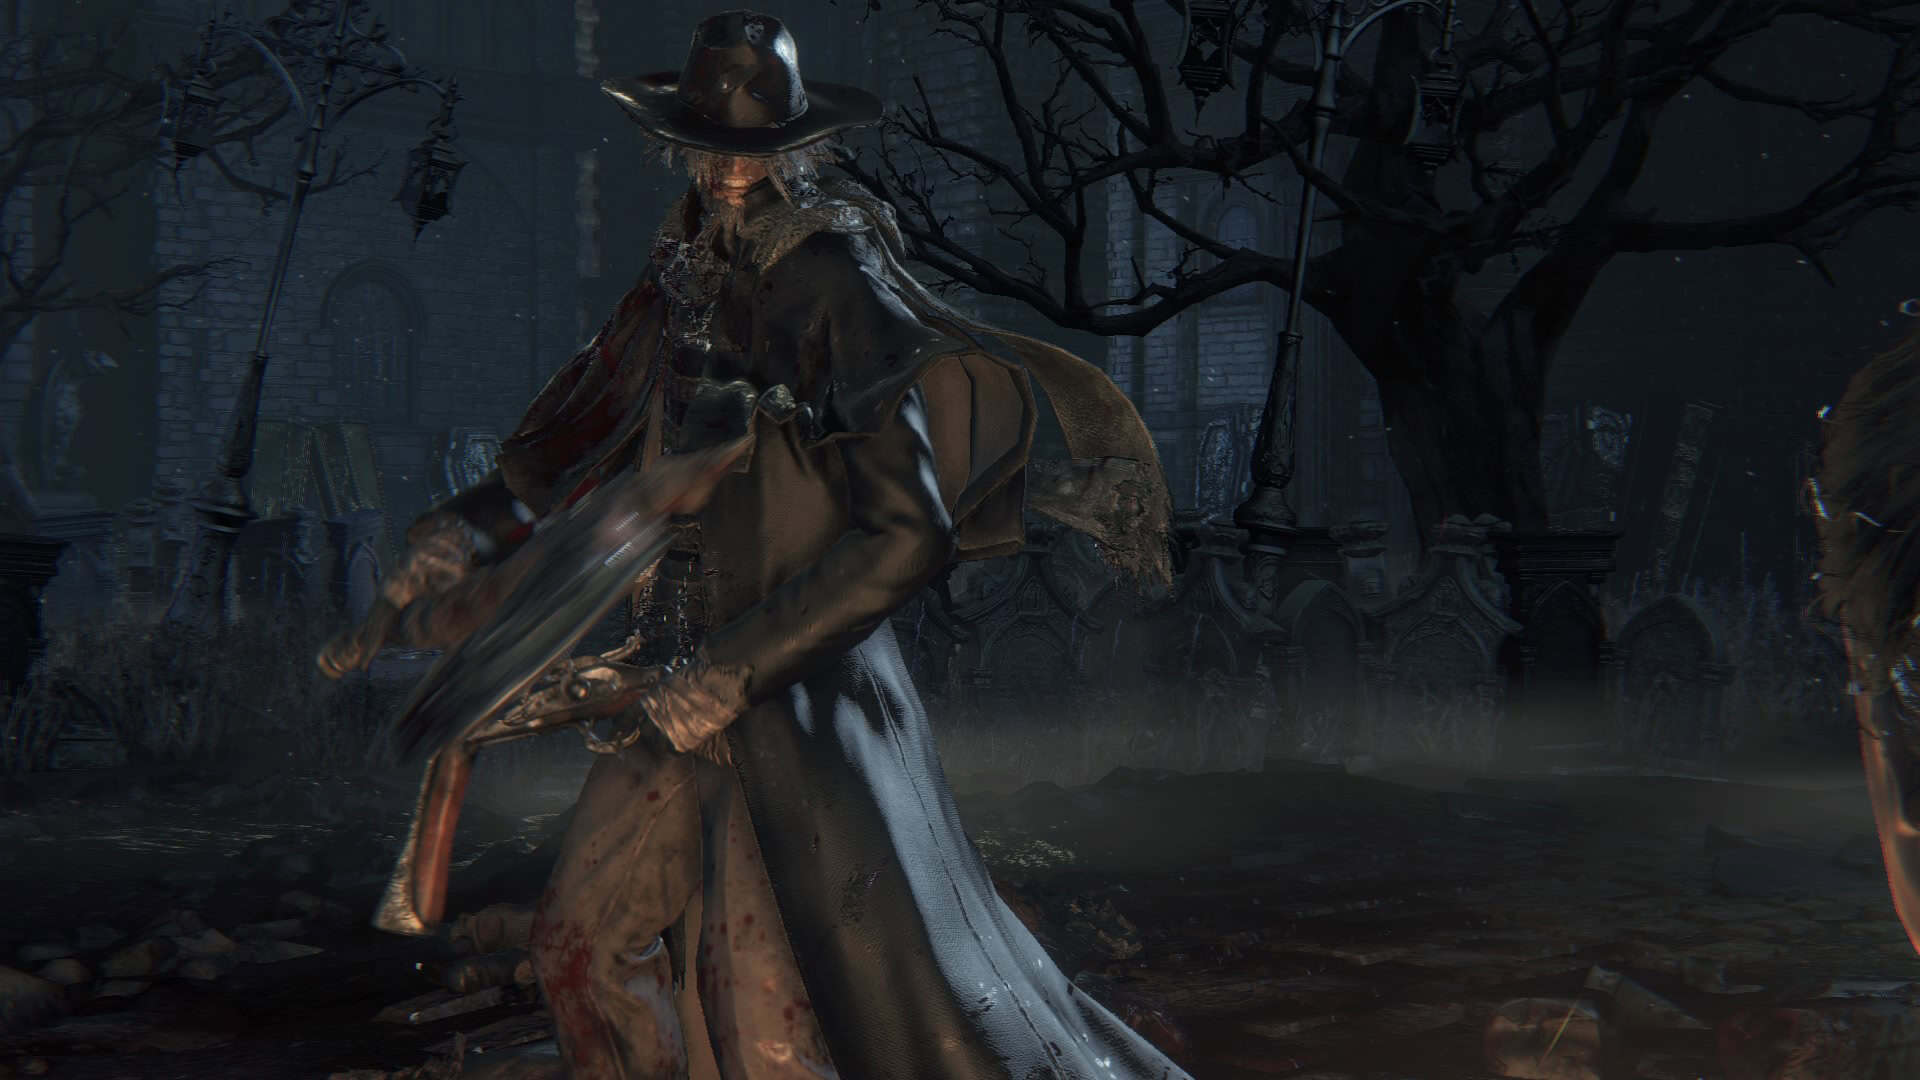
Like both the Shadows and Ludwig, Martyr Logarius is another of Bloodborne‘s bosses that seems to give every player a hard time, albeit for different reasons. If you’re a melee-focused player and draw the short straw with Bloodborne‘s RNG, it’s almost guaranteed that the battle against Martyr Logarius will see him using mainly magic attacks that are incredibly hard to time out and dodge effectively. Conversely, if you’re a ranged player, Martyr Logarius will have a tendency to rush you and engage in some very disorienting combos. The trick, ultimately, is to learn enough of his closer-range moves to parry them, and then rush in for a Visceral Attack to ensure the fight doesn’t last any longer than it absolutely needs to.
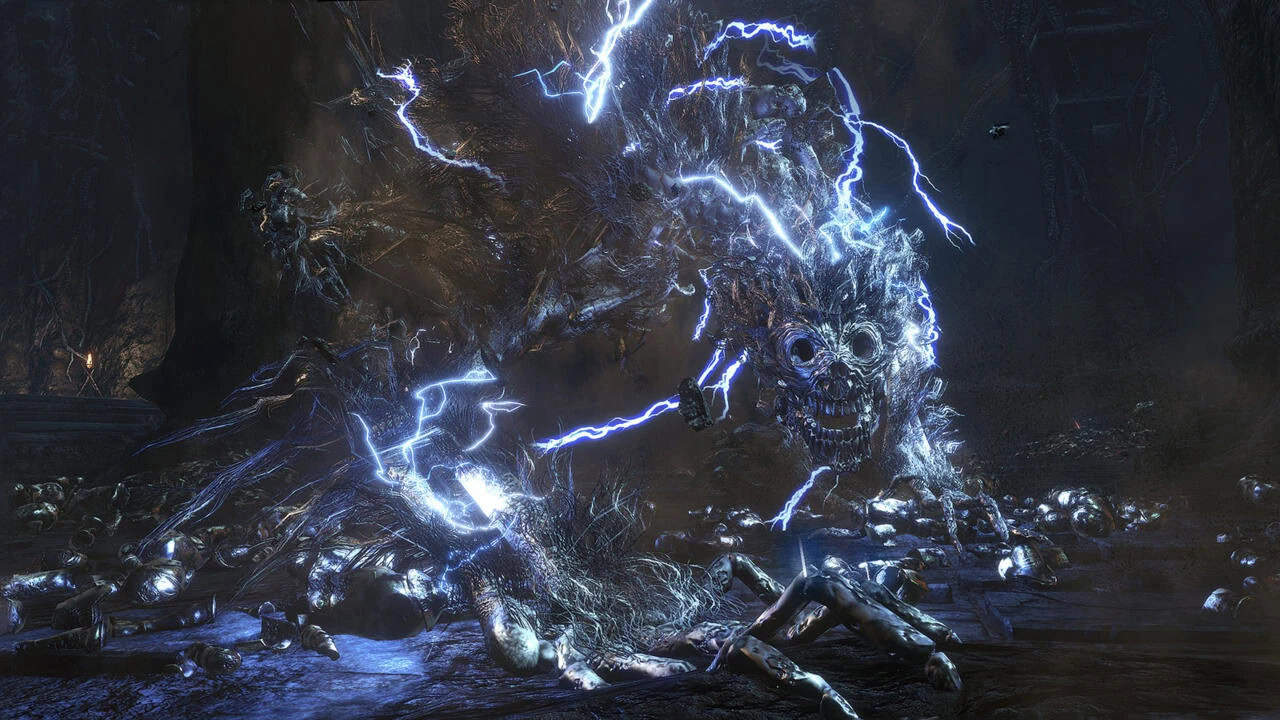
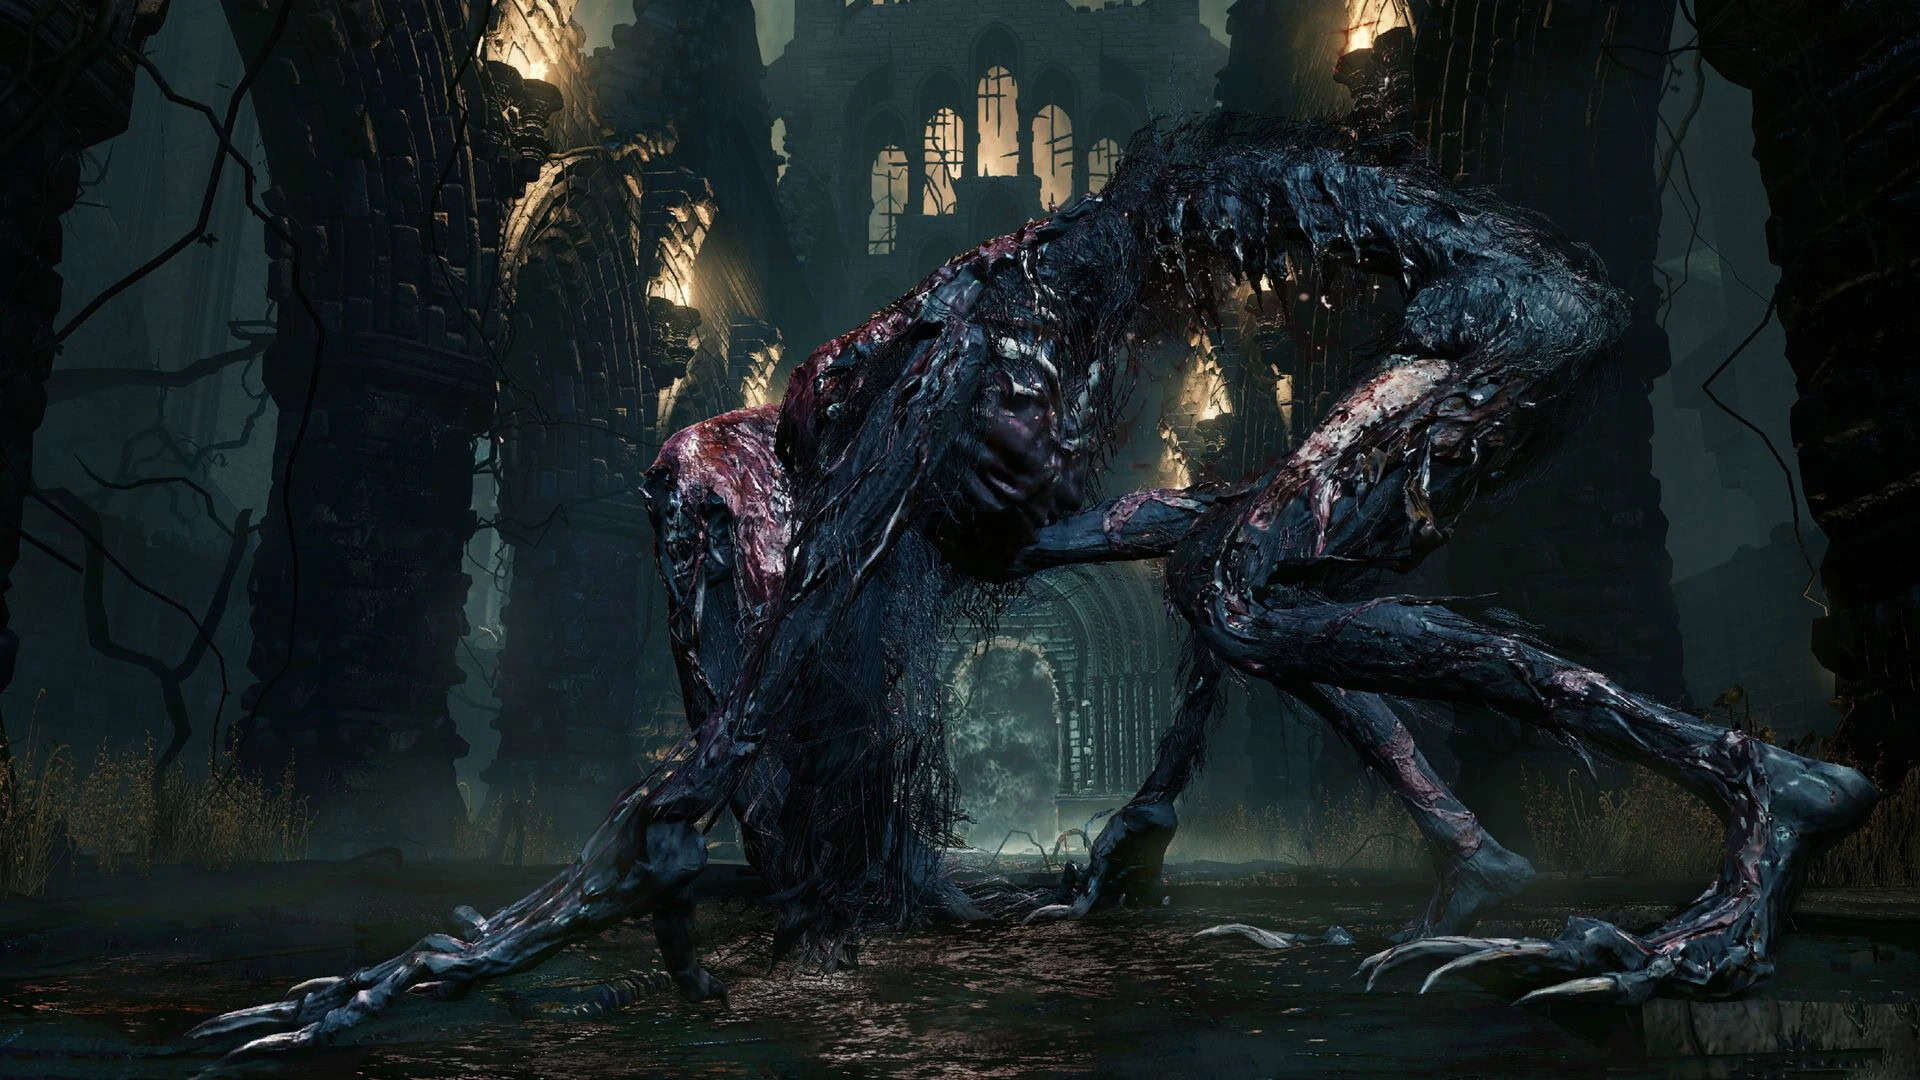
Blood-Starved Beast
- Location — Old Yharnam
- HP — 3,470
- Weaknesses — Fire
- Blood Echoes — 6,600
Looking at the Blood-Starved Beast’s health, and then realizing how early on in Bloodborne that players fight him, you’d be forgiven for assuming that this encounter is just another tried-and-true “beast” boss along the lines of the Cleric Beast or Vicar Amelia. Instead, the Blood-Starved Beast serves as the metaphorical brick wall that many players run up against, causing many to simply put the game down and never come back from an inability to overcome the fight’s challenge. Putting the Blood-Starved Beast’s unreal aggression aside, it’s the need to keep a constant eye on your poison build-up that makes this fight harder than it needs to be, diverting the player’s attention when it should be solely focused on the hulking, lightning-fast monstrosity chasing you around the arena.
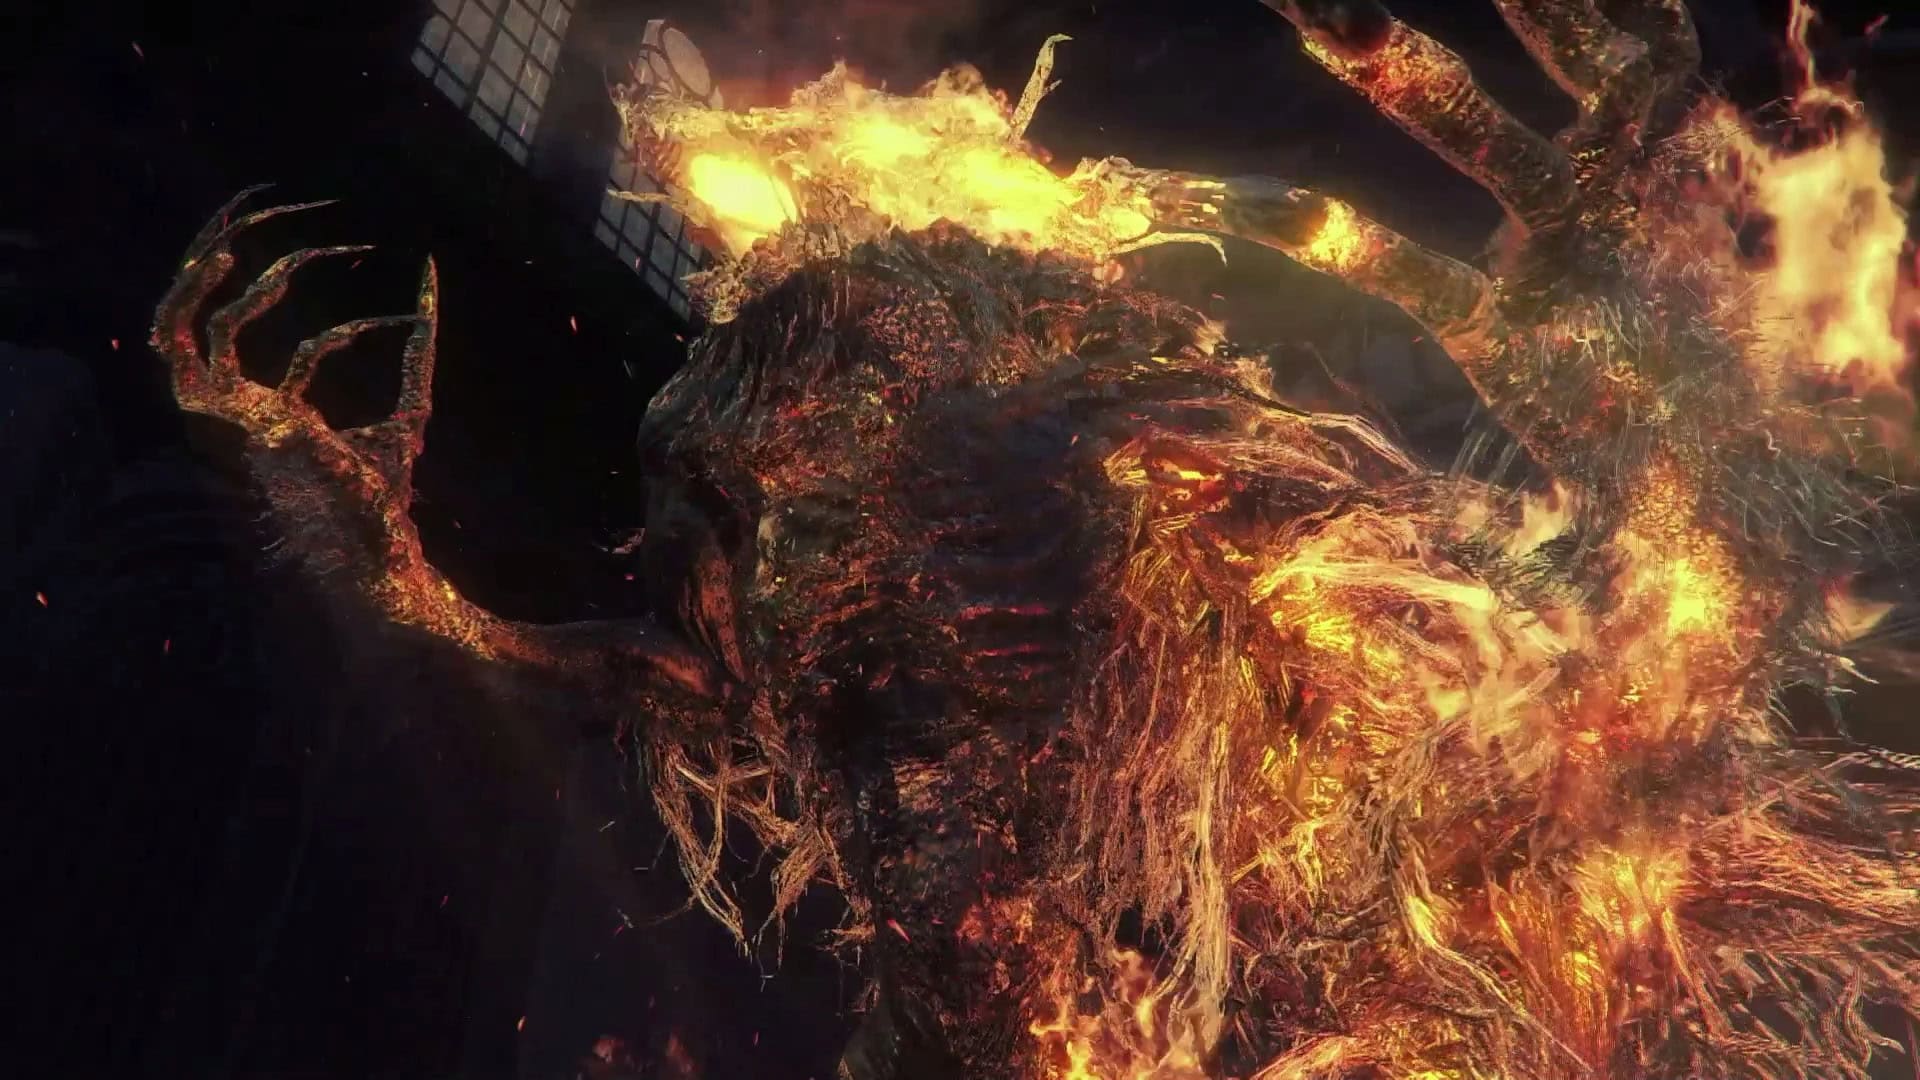
Laurence, the First Vicar
- Location — The Hunter’s Nightmare (The Old Hunters DLC)
- HP — 21,242
- Weaknesses — Serrated Weapons
- Blood Echoes — 29,500
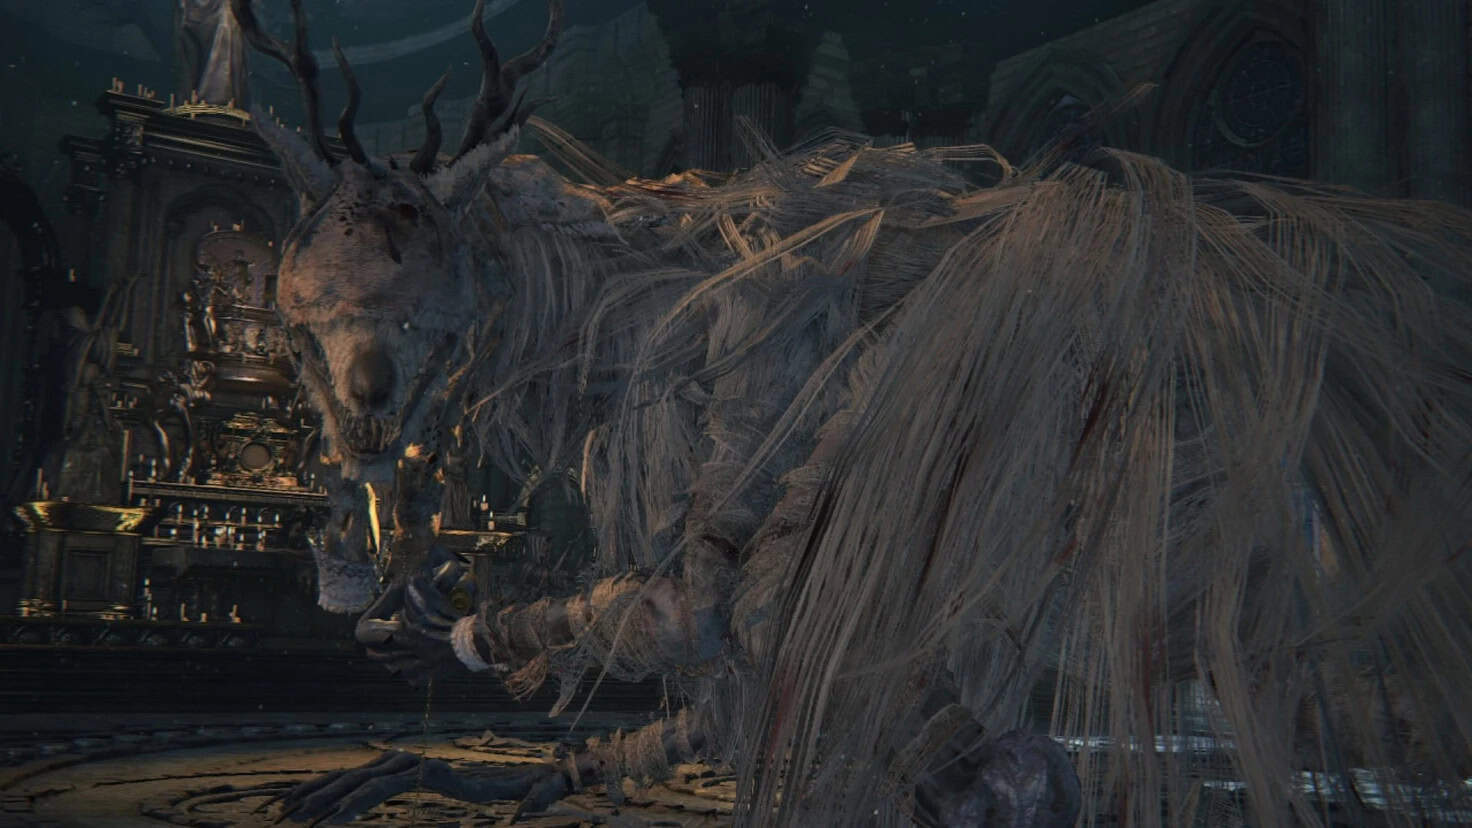
Remember the fight against Vicar Amela? Take that same encounter design and multiply its challenge by a factor of 10, and you’ve got the battle against Laurence, the First Vicar. The first half of this fight goes about how you’d expect for a “beast”-type boss, but it’s the second phase where things get really tricky, as Laurence begins to spew lava from his bottom half and crawls around the arena to create damaging pools that stand between you and successful attacks. Even if you feel confident about taking on some of the other late-game bosses in Bloodborne, fighting Laurence again might genuinely give you pause about starting NG+ (where he’s even more aggressive).
Orphan of Kos
- Location — Fishing Hamlet Coast
- HP — 19,217
- Weaknesses — N/A
- Blood Echoes — 60,000
Of course Orphan of Kos is going to top a list of the most challenging bosses in Bloodborne, who else would it be? The final encounter of Bloodborne‘s late-game-centric DLC, The Old Hunters, the Orphan of Kos is one of the most challenging fights in the entire FromSoftware catalog. He’s fast, he’s insanely aggressive, his attacks are wildly unpredictable, and he gives players very few genuine attempts at turning the tables if he gains the advantage. The best bet is to stay a medium-to-close distance from him so that he uses fewer jump attacks, and parry when possible to land a Visceral Attack for some much-needed bonus damage. Some of the Challice Dungeon bosses are arguably harder, but you won’t find a more challenging encounter in Bloodborne‘s normal gameplay.
The image featured at the top of this post is ©Bloodborne key art / Original